2010augusta
Well-known member
This is my latest, and hopefully last, modification to the UDC.
My goal for this change is two-fold:
1. to eliminate most of the vinyl hose and all the plastic PEX fittings,
2. to customize the UDC to our style of full time camping.
I was inspired by Chris and his upgrade that can be found here, //heartlandowners.org/showthread.php/15249-Universal-Docking-Center-Plumbing-Upgrades?
I want to clean up and improve upon what I did about a year ago. //heartlandowners.org/showthread.php/8744-A-Better-Easier-to-Use-UDC
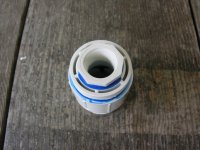
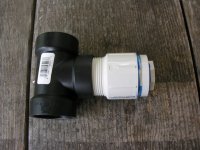
Some of the special parts I have bought for this version are;
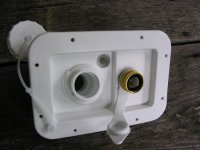
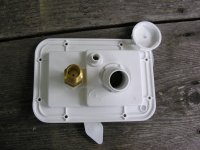
1- B&B molders city/gravity fill with brass hose hook-up.
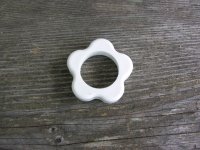
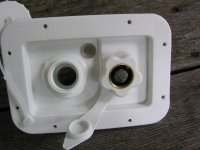
1- JR products Connect-it-tight.
1- B&B molders 3-way-valve (just like the bypass and winterizing valves)
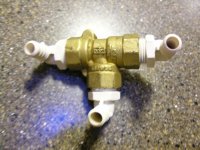
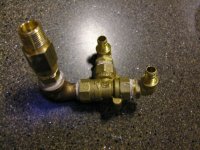
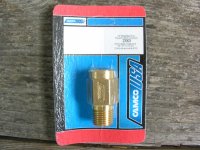
2- Camco brass check valve/ back-flow preventers
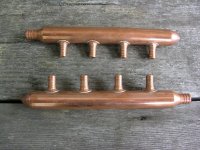
2- 1-4 PEX copper manifolds
1- 1 1/2 pipe "tee" and adapters from 3/4 NPT to 1 1/2 NPT
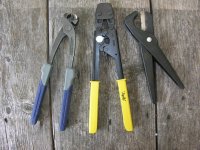
The tools:
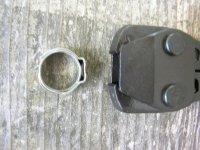
I used the same style of stainless steel "cinch rings" that were used by Heartland. To remove old rings I used a pair of 10" concrete Nippers. Here is a video of the process.
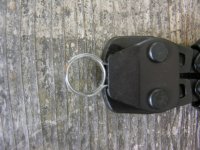
To install new rings I bought an Apollo cinch ring tool, and to cut the PEX I used a hose cutter. The Apollo tool is easy to use, as it automatically releases once the clamp is tight, and will not release until it is tight.
The Process
The first part of the modification was to map out where all the current hoses and tubes went.
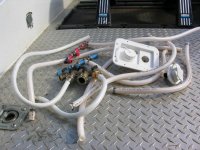
Once that was done, I began clearing out the “junk” including the vinyl hoses, plastic PEX fittings and the daisy chain of “Tees” that will be replaced by the two manifolds.
With things freed up a bit, I relocated some of the existing PEX up and out of the way.
Next, I found a reasonable place for the manifolds and began working from the manifolds back to the sources.
Finally, I Installed PEX to recreate the by-pass and winterizing systems.
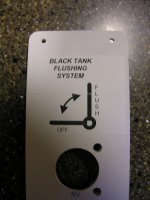
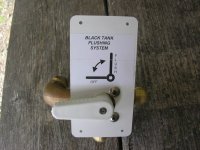
The second part of the modification was to change the black tank flusher system from a separate hose hook-up, to a UDC mounted valve.
Before anyone says ANYTHING about plumbing the black tank flusher into the rest of the plumbing system, this concern was already discussed, and Mark Comer said it best here. To sum it up, unless the campground has a separate source of water for the flusher, then one way or another it is all plumbed together anyway.
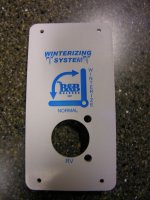
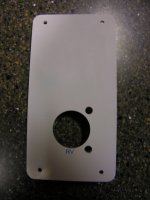
I removed the flange mounted hose hook-up and installed the 3-way-valve just below the existing hole in the UDC, and the plastic flange covers the unused holes.
I then added a “tee” to the cold water supply to out-side shower. From that the new line went to a brass check valve and then into one side of the new 3-way-valve.
The old line for the flusher is connected to the port of the three way valve that is open for either position, and a “drain” line is connected to the third port.
The purpose of the drain line is to give the water, which would otherwise be trapped between the vacuum breaker and the valve, a place to go.
I plumbed the new drain line into the drain pipe running into the Grey #1 tank, using the 1 ½” “tee” and the PVC fittings.
Here are the before and after shots of the project.
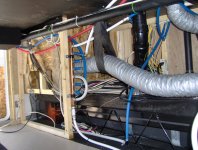
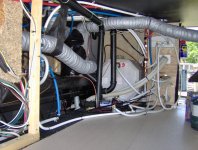
The back side of the UDC
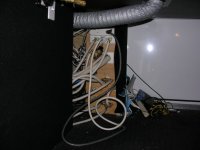
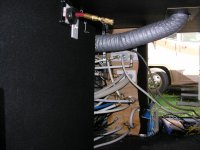
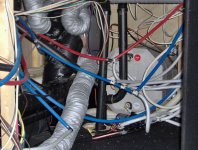
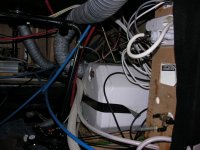
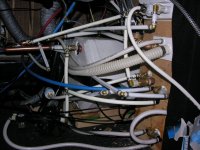
The before, during, and after of the back side of the "wall".
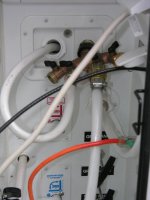
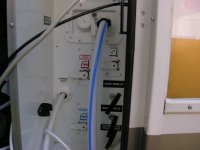
The user side of the UDC, notice the new valve handle.
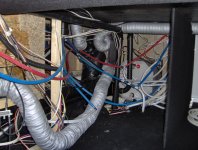
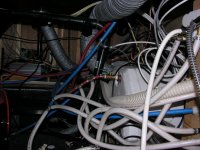
Here is a shot of some of the mess that was cleared out
ON EDIT: I also used the new Apollo tool to re-cinch some of the Factory joints and to my surprise, some were not to spec. I had to click the tool down a few notches to get them fully tightened. The tool does require some calibration, so the one on the line the day mine was built most have been set a bit wide.
My goal for this change is two-fold:
1. to eliminate most of the vinyl hose and all the plastic PEX fittings,
2. to customize the UDC to our style of full time camping.
I was inspired by Chris and his upgrade that can be found here, //heartlandowners.org/showthread.php/15249-Universal-Docking-Center-Plumbing-Upgrades?
I want to clean up and improve upon what I did about a year ago. //heartlandowners.org/showthread.php/8744-A-Better-Easier-to-Use-UDC
Some of the special parts I have bought for this version are;
1- B&B molders city/gravity fill with brass hose hook-up.


1- JR products Connect-it-tight.


1- B&B molders 3-way-valve (just like the bypass and winterizing valves)


2- Camco brass check valve/ back-flow preventers

2- 1-4 PEX copper manifolds

1- 1 1/2 pipe "tee" and adapters from 3/4 NPT to 1 1/2 NPT


The tools:
I used the same style of stainless steel "cinch rings" that were used by Heartland. To remove old rings I used a pair of 10" concrete Nippers. Here is a video of the process.


The Process
The first part of the modification was to map out where all the current hoses and tubes went.
Once that was done, I began clearing out the “junk” including the vinyl hoses, plastic PEX fittings and the daisy chain of “Tees” that will be replaced by the two manifolds.
With things freed up a bit, I relocated some of the existing PEX up and out of the way.
Next, I found a reasonable place for the manifolds and began working from the manifolds back to the sources.
Finally, I Installed PEX to recreate the by-pass and winterizing systems.
The second part of the modification was to change the black tank flusher system from a separate hose hook-up, to a UDC mounted valve.
Before anyone says ANYTHING about plumbing the black tank flusher into the rest of the plumbing system, this concern was already discussed, and Mark Comer said it best here. To sum it up, unless the campground has a separate source of water for the flusher, then one way or another it is all plumbed together anyway.
I removed the flange mounted hose hook-up and installed the 3-way-valve just below the existing hole in the UDC, and the plastic flange covers the unused holes.
I then added a “tee” to the cold water supply to out-side shower. From that the new line went to a brass check valve and then into one side of the new 3-way-valve.
The old line for the flusher is connected to the port of the three way valve that is open for either position, and a “drain” line is connected to the third port.
The purpose of the drain line is to give the water, which would otherwise be trapped between the vacuum breaker and the valve, a place to go.
I plumbed the new drain line into the drain pipe running into the Grey #1 tank, using the 1 ½” “tee” and the PVC fittings.
Here are the before and after shots of the project.
The back side of the UDC


The before, during, and after of the back side of the "wall".


The user side of the UDC, notice the new valve handle.


Here is a shot of some of the mess that was cleared out

ON EDIT: I also used the new Apollo tool to re-cinch some of the Factory joints and to my surprise, some were not to spec. I had to click the tool down a few notches to get them fully tightened. The tool does require some calibration, so the one on the line the day mine was built most have been set a bit wide.
Last edited:

