brianharrison
Well-known member
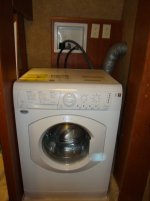
I have the factory installed stacked washer and dryer (Ariston Splendide ARXL129 Washer). Early this spring on our first trip out, I noticed our bedroom floor and closet was wet. Discovered the washer was leaking and the drain pan was leaking too - out the rear left corner of the drain pan - and not draining out the front right drain hose. 
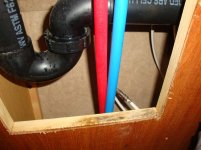
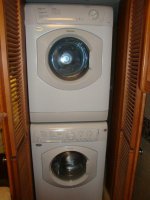
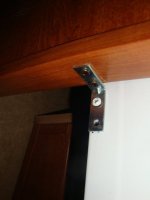
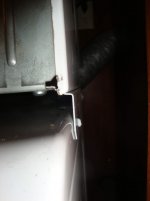
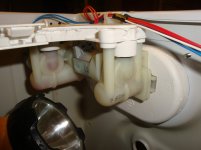
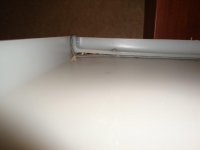
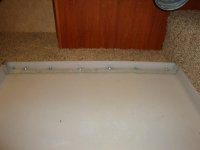
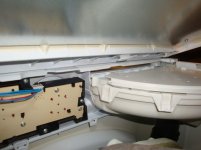
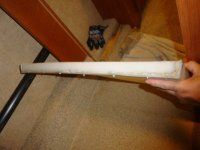
Long story short - wrestled the dryer out, wrestled the washer out, disassembled the top of the washer, and found the inlet hot water solenoid valve cracked and leaking water. Also found the drain pan leaking where the adjustable screw down back lip was not installed correctly. I replaced the butyl tape under the screw down back lip and improved the installation by adding some more screws to tighten up the butyl seal. By the way, it was installed on carpet. I have also included a picture of how the washer/dryer unit was fastened for stability to the closet by a "L" bracket. There are no screw holding down the washer to the floor.
I used the Heartland Owners Manual links to find the Ariston part number for the inlet hot water valve (part #100452), called Westland Sales in Oregon (1-800-356-0766, ext 5) and ordered up the part. The gentleman on the phone recommended ReliableParts(dot)com here in Canada to order the part from to avoid the border crossing (great customer service!) - and it was cheaper here in Canada as well ($35 Cdn vs $60 US).
Hope this helps someone else looking at the same concerns.
Brian
Attachments
-
 DSC04845.jpg55.7 KB · Views: 197
 -
 DSC04847.jpg29.5 KB · Views: 174
 -
 DSC04854.jpg92.8 KB · Views: 179
 -
 DSC04858.jpg205.5 KB · Views: 186
 -
 DSC04859.jpg122.6 KB · Views: 177
 -
 DSC04865.jpg173.7 KB · Views: 182
 -
 DSC04899.jpg39.5 KB · Views: 177
 -
 DSC04904.jpg68.9 KB · Views: 169
 -
 DSC04860.jpg137.9 KB · Views: 184
 -
 DSC04905.jpg93 KB · Views: 172