Cyclone loading ramp failure

porthole

Retired
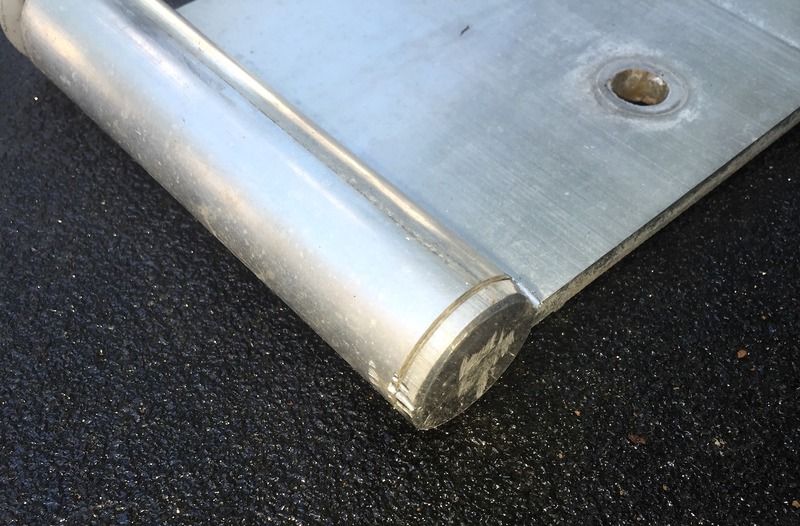
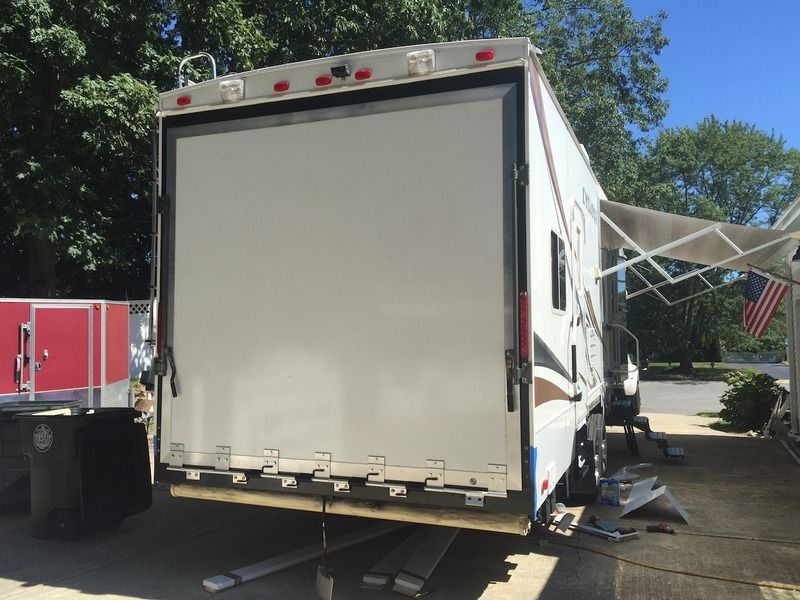
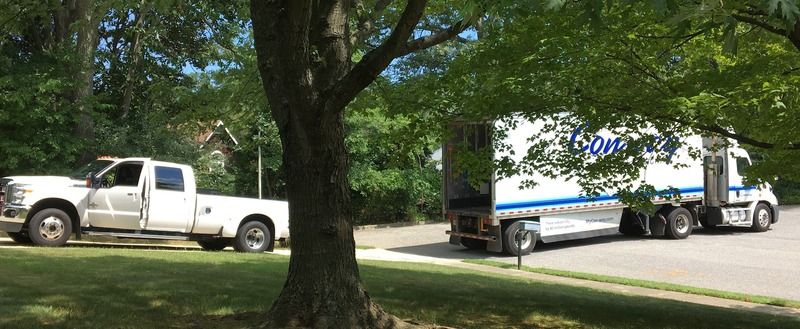
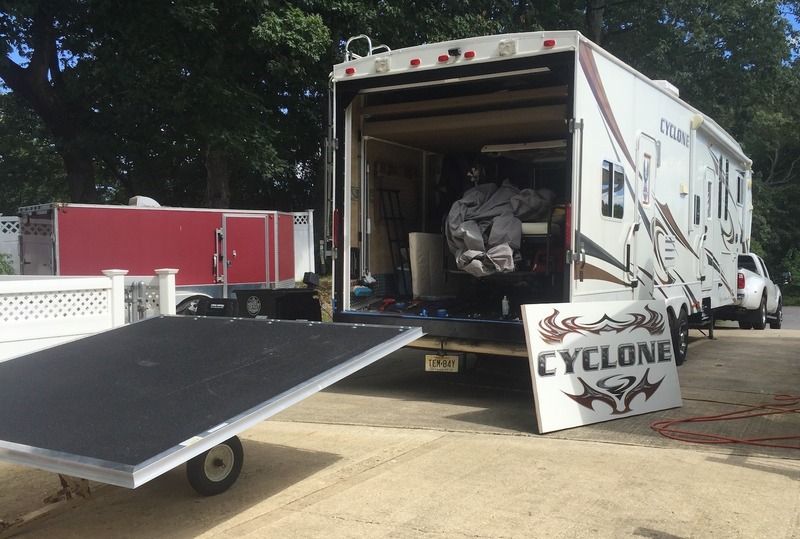
My ramp was shipped by truck freight. Driver showed up as scheduled and then we both looked at each other. In the crate the ramp was billed at 350 pounds. The crate was taller then the trucks door - problem.
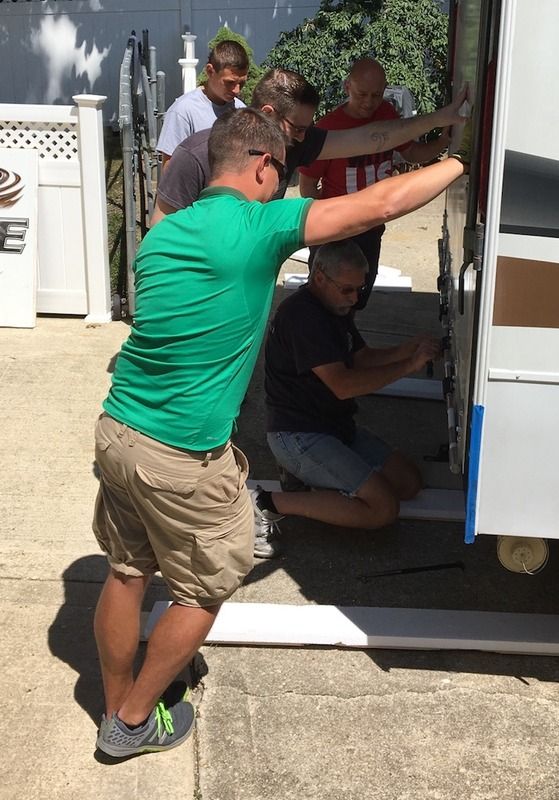
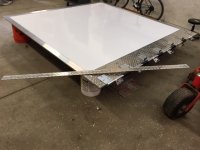
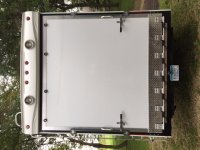
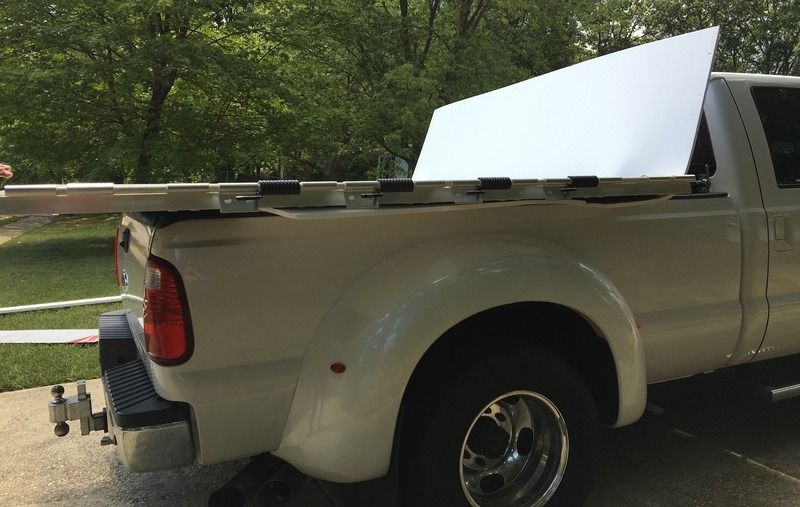
We uncrated the ramp in the trailer and laid it flat on the short side and the two of us were able to easily slide it out of the trailer onto the back of my truck, using the foam from the packing.
The peanut gallery was requested to go inside to not see what we were doing, but instead chose to get video evidence in case she needed to prove to insurance that a door really did fall on me :rolleyes:

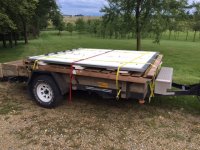
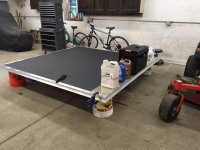
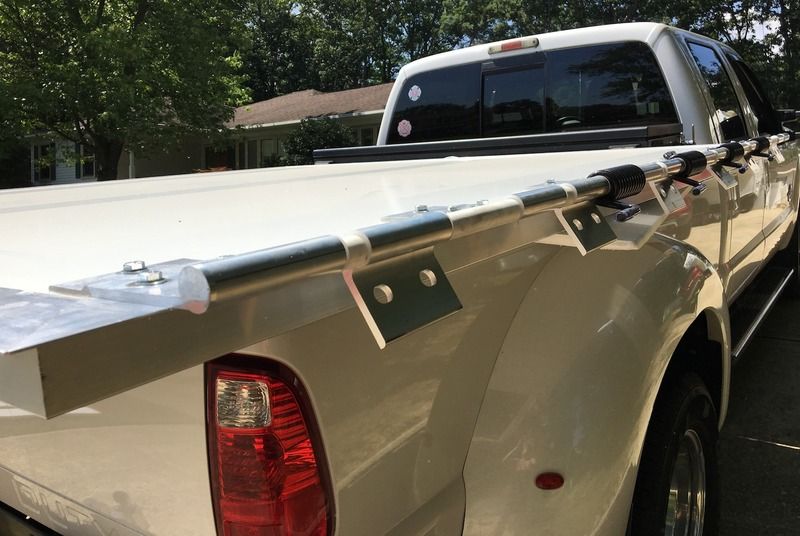
Deb and I were able to maneuver the ramp fairly easily from the back of my truck to the ground then flip onto my garden trailer to move it around as needed.
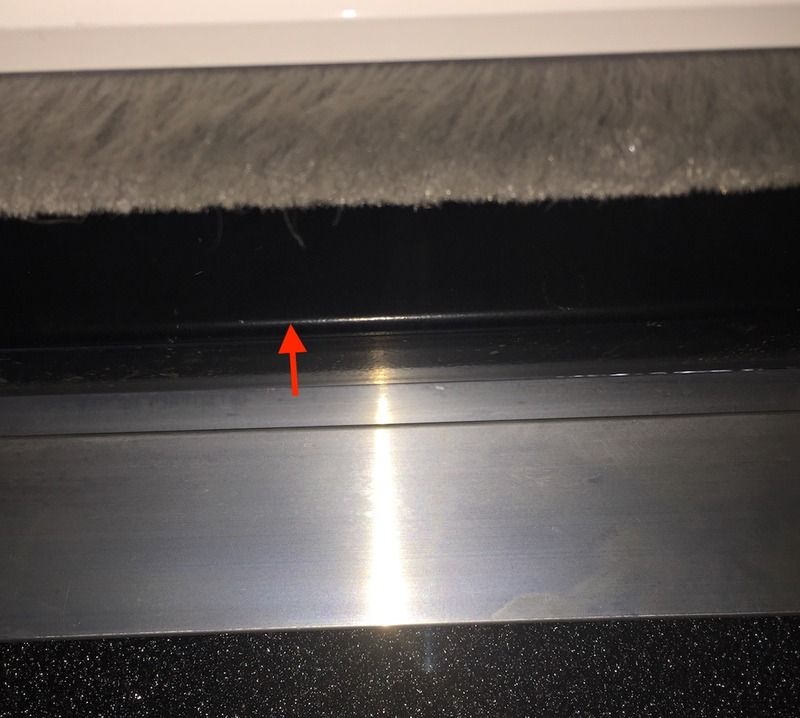
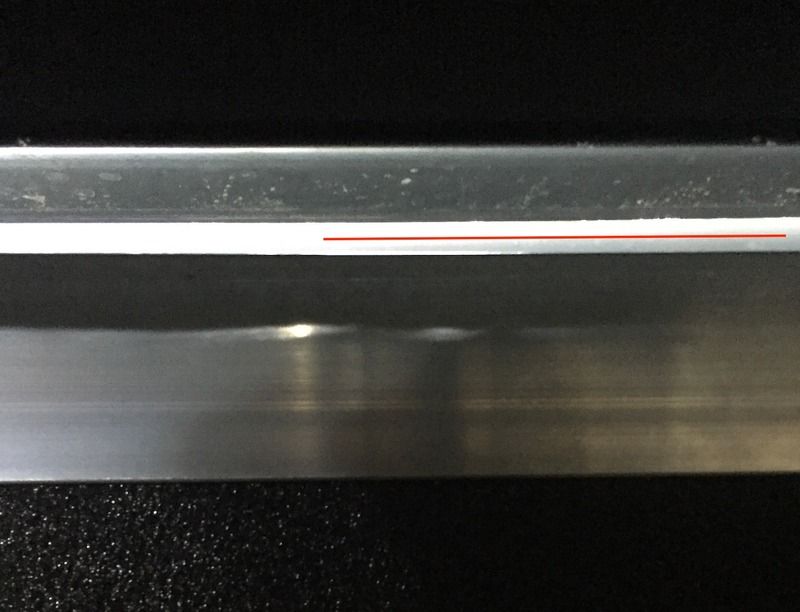
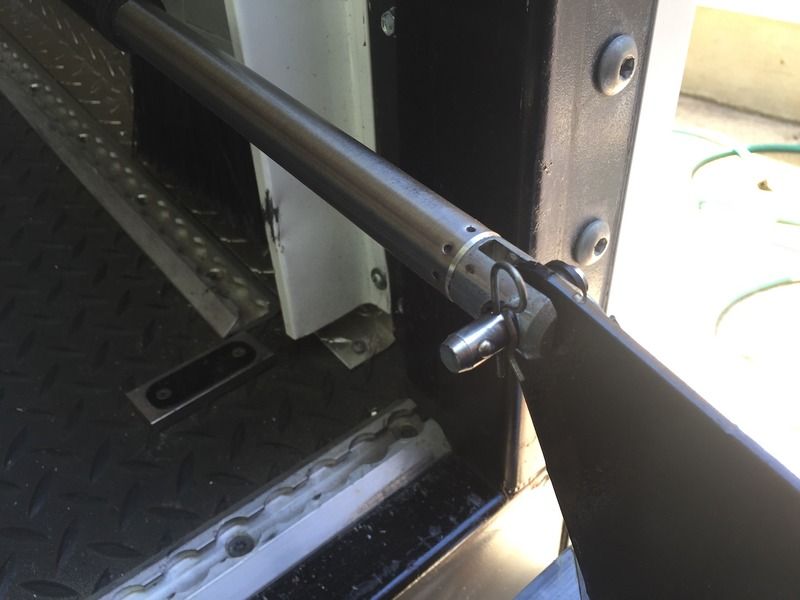
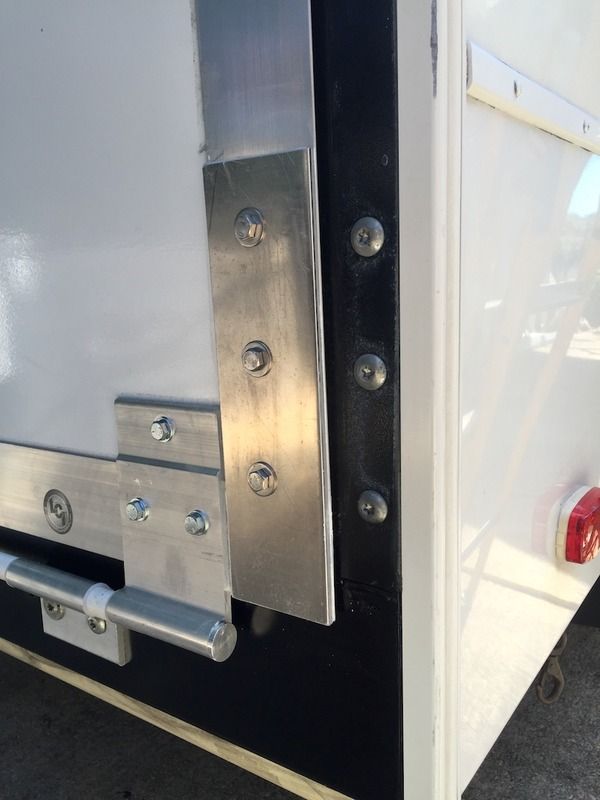
And as it turned out, the garden trailer was just about the right height to aid with the install, with perfect alignment achieved with the LevelUp.


The Conway driver went above what is expected and received a tip suitable for him and his wife to go to a nice restaurant.


Cyclone_ramp_replace_01_zps4hbkedd9.jpg


Cyclone_ramp_replace_02_zps34rekuab.jpg


Cyclone_ramp_replace_03_zps1yg5dh9d.jpg


Cyclone_ramp_replace_04_zpsbozbxqbc.jpg
 
Last edited:

porthole

Retired
Getting the old ramp off is almost straight forward, if you have the help. I didn't, so it was lay the ramp horizontal on the garden trailer, cut the springs, then remove the bolts. My preference would have been to remove the hinge pin, but I could not get the end caps off.

Cyclone_ramp_replace_05_zpsd87jyywy.jpg


Cyclone_ramp_replace_06_zpse8exdzjs.jpg


Cyclone_ramp_replace_07_zpsd3njyvdt.jpg


- - - Updated - - -

Here is a problem. I did not realize that the factory never set the ramp with the correct spacing, so after the new ramp was bolted up and the kids all left, I found out I had a problem that could not be rectified in 8 hours, and we were leaving on our 5 week trip in - 8 hours.

The new ramp's top channel did not hit the top of the garage frame.

So, that means the new weather strip which was near impossible to obtain from Heartland, had nothing to seal against at the top.

Cyclone_ramp_replace_08_zpszkz8yaus.jpg


Cyclone_ramp_replace_09_zpsddwanpud.jpg


Cyclone_ramp_replace_10_zpsob2dzl4h.jpg


- - - Updated - - -

No decals, didn't even bother with the door handles yet.
trim on the ground - I decided this was also the time to do all the bodywork from the tire blow out and getting sideswiped by the cell phone driver last year.

Cyclone_ramp_replace_11_zpsjfkkcyhu.jpg


Top of the ramp, looking out. the arrow represents the gap, about 3/4"

Cyclone_ramp_replace_12_zpscvzwnvv2.jpg


Bright spot in the middle is daylight.

Cyclone_ramp_replace_13_zpsmtgzqpmc.jpg


Cyclone_ramp_replace_14_zpslnjvg0qv.jpg


This gap is caused by the 3M tape holding the angle. As a result I had to trim about 1/8" off one side of the angle. Good thing I bought two 10' pieces.

Cyclone_ramp_replace_15_zpsc5zxhtyj.jpg


Frame extension.

Cyclone_ramp_replace_16_zpsqzckzkx2.jpg


- - - Updated - - -

After reinstalling the electric ram I found a problem.
The stress caused by the ram pulling and lifting the door at such an extreme angle was actually causing the door frame to separate at the miter joint. You'll understand how when you see the necropsy pictures.

Since we had to get on the road, I added a piece of 3/8" aluminum stock across the miter and 3M 5200'd it. I need to make up a 10' bar clamp so that I will be able to reset the miters, then I will drill and tap the corners for bolts.


Cyclone_ramp_replace_17_zpspzihcvtn.jpg


Cyclone_ramp_replace_18_zps4781h2f2.jpg


Cyclone_ramp_replace_19_zpsyybwxflw.jpg


- - - Updated - - -

My able bodied assistants.

Cyclone_ramp_replace_20_zpskm7juxme.jpg


Cyclone_ramp_replace_21_zpsdhynyvdu.jpg


- - - Updated - - -

Necropsy pics coming up next.
 

porthole

Retired
Necropsy: For your viewing pleasure, the gory details.
 

Attachments

  • Cyclone_ramp_necropsy_01.jpg
    Cyclone_ramp_necropsy_01.jpg
    79.9 KB · Views: 133

porthole

Retired
Lippert ramp construction as supplied to Heartland toy haulers.

There is no structural support built into the ramps. All the strength comes from the lamination, same as your trailer side walls that fail.

Ramp construction, from the outside in:
Gel coated-fiberglassed skin
2 horizontal sheets of 4 x 8 x 1/8" luan
1 6" x 8' x 1/32" aluminum sheet covering the seam of the two luan sheets
8' x 7' x 2" (all approximate) Styrofoam block (do not know if it is one piece or many)
2 vertical sheets of 4' x 7' or 8' x 1/8" luan
Non-skid covering (remotely similar to Line-X)

All of the above is laminated. The 6" horizontal aluminum strip is preventing luan seams from printing through the outer skin.
Because of cost savings for what must amount to about 3 dollars worth of aluminum, there is no 6" piece of aluminum on the inside luan, which is why many of us see a seam when the ramp heats up in the sun.

The lamination is then 'framed' with the aluminum extrusions that are mitered at 45 degrees and joined at the corners.
The extrusions are glued to the styrofoam, I can only guess that it must be for water intrusion, because gluing aluminum to styrofoam certainly has no structural strength.
The corners are connected with 'cleats' that are hammered in with what appears to be epoxy.

Somewhere along the line my ramp got moisture in the lower 6", the luan wood rotted and my Screamin Eagle Electric Glide almost fell through the ramp.

I would venture to say, if you see any rust around any of the lower through bolts, it is too late.

Another step that was missed on the construction of our trailer, the ramp was not properly shimmed in the door frame, as in not at all! That may or may not have contributed to the failure. I think it did, as the ramp not being 'free' in the frame, is then subject to stress that caused the mitered corners to separate some, leaving an opening for water intrusion.

This is the inside of the outer luan showing the aluminum strip.


The arrow is pointing to the aluminum. You can just see the seam of the two pieces of luan to the right of the arrowhead.


Rotten wood. Where the wood is good, the styrofoam sticks. What you are looking at here is the bottom 12-16" of ramp, that was cut off, then split. This is the inner and outer luan sheets.


The edge that is glued to the aluminum extrusions.


Telltale hint of problems to come.


The mitered corners and epoxied connectors.


KenandKK

Well-known member
FANTASTIC Necropsy.... Now I know what I'm dealing with on mine! I can't tell you how much I appreciate all the time and effort that went into this. My ramp is showing sign's of possible failure and I was trying to make a plan to either replace or try a repair. I wonder who is making the ramps for Heartland now?
"THANK YOU", again!
 

RTSchacht

Rick & Terri
Thanks for the great pics.... Here's a little of my challenge last fall. It took four of us to mount the door but I got mine at the factory, drove it home, made a bigger hinge support bracket.... although, like the hydraulic lift arm mod you made. Work nice?

I hope the four pictures show the door on the trailer, bolting and sealing/glue, on the camper....

Thanks for sharing...

Hoping we don't have to go through this again....

Rick
 

Attachments

  • IMG_0135.JPG
    IMG_0135.JPG
    168.9 KB · Views: 154
  • IMG_0142.JPG
    IMG_0142.JPG
    113.9 KB · Views: 148
  • IMG_0145.JPG
    IMG_0145.JPG
    105.4 KB · Views: 153
  • IMG_0148.JPG
    IMG_0148.JPG
    117.8 KB · Views: 163

avvidclif

Well-known member
Keep going with the hints and pictures. I have a new ramp in storage that I haven't installed yet. my DW is already eyeballing that large plain door on the back and trying to figure what kind of a picture she wants on there. It won't say Cyclone. I need to get the rubber seal ordered so I have it when I do get around to it. I do like the idea of the aluminum plate at the bottom, what was it glued with? Any more hints or "I wish had done" ???

I've only had it since the middle of Oct, no use getting in a hurry.
 

porthole

Retired
Thanks for the great pics.... Here's a little of my challenge last fall. It took four of us to mount the door but I got mine at the factory, drove it home, made a bigger hinge support bracket.... although, like the hydraulic lift arm mod you made. Work nice?

I hope the four pictures show the door on the trailer, bolting and sealing/glue, on the camper....

Thanks for sharing...

Hoping we don't have to go through this again....

Rick

Looks good. I considered something like this but literally got the ramp finished the afternoon before we were scheduled to leave for 5 weeks.
May still do it as I still have the issue of the ramp sitting on the door frame instead of bing shimmed out.

Black diamond plate would cover up all the old holes after having to drill new holes for the 3/8" gap (on the door frame at the bottom.).
 

porthole

Retired
I am so disappointed with the new replacement ramp.

When I lowered the ramp to load up for the Virginia rally, which was the first time since the Gettysburg rally, water came out of several of the hinge plates. :mad:
It would appear that in several areas, the sealer is not sealing. I can see what appears to be dirt or black mold under the sealer in a couple of locations.
 

OEFVET

Well-known member
Duane would it help to spray that flexseal type stuff over the areas where you see water. I know it's not the right fix but you have to stop the water penetration.
 

porthole

Retired
Duane would it help to spray that flexseal type stuff over the areas where you see water. I know it's not the right fix but you have to stop the water penetration.

I tried that stuff under the refrigerator, inside and out where water would come through if the trailer was at the right angle and receive a spray (like washing).

First, it would look like garbage.
Second, the infomerical hype is also garbage.


In the interim, I drilled two drainage holes on the bottom of the ramp. Real happy about that - not
 

avvidclif

Well-known member
Duane can you post some pictures of where you think it is getting in? I haven't installed my new ramp yet but when I do I want it to be completely sealed. I also plan on removing each hinge bolt and sealing with RTV in the hole, under the hinge and under the head. The decking looks to be sealed around the edges which the original was not. I only want to do this once......
 

porthole

Retired
Don't know for sure, but I will post some pics later.

"If" i had to install the ramp at my leisure, first I would make sure the ramp is centered in the frame, top-bottom, side to side. My ramp was originally installed by heartland sitting on the bottom of the frame. It is supposed to be shimmed up 3/8" (which would center it in the opening)

Next I would remove all the hinges.
Add a piece of aluminum that would sit just inside the bottom and two side aluminum channels, 1/16" thick, probably 8-10" tall
Add a piece of aluminum that would cover all of the bottom and side channels up about 12", 1/8" thick. Basically the first piece is a filler piece.

Same on the inside.

Everything would be sealed with marine grade below the waterline polyurethane.

Then you would have to space out where the hinges bolt to the trailer (self tappers and two bolts for mine)

The ramp is under a lot of pressure where the hinges are bolted on - you are fighting the springs as you lower the ramp. That is a lot of pressure for a few square inches.
Adding the aluminum will spread out that load at the place where the ramp is under the most stress.

I would think that even if water sill gets in and rots the wood, the aluminum will be sufficient to keep the ramp from failing.


Or get rid of the trailer.
 

avvidclif

Well-known member
Thanks, I have been looking at adding the aluminum plates to strengthen it, just haven't got around to locating the metal I need. My current ramp while showing some delamination on the inside bottom is still usable, carefully. I got the replacement while I could get some help from Lippert and plan on beefing it up for when it goes on the trailer.

Just thinking about it wouldn't adding plates on the outside force the ramp deeper into the hole and possibly mess up the geometry???
 

Bones

Well-known member
Don't know for sure, but I will post some pics later.

"If" i had to install the ramp at my leisure, first I would make sure the ramp is centered in the frame, top-bottom, side to side. My ramp was originally installed by heartland sitting on the bottom of the frame. It is supposed to be shimmed up 3/8" (which would center it in the opening)

Next I would remove all the hinges.
Add a piece of aluminum that would sit just inside the bottom and two side aluminum channels, 1/16" thick, probably 8-10" tall
Add a piece of aluminum that would cover all of the bottom and side channels up about 12", 1/8" thick. Basically the first piece is a filler piece.

Same on the inside.

Everything would be sealed with marine grade below the waterline polyurethane.

Then you would have to space out where the hinges bolt to the trailer (self tappers and two bolts for mine)

The ramp is under a lot of pressure where the hinges are bolted on - you are fighting the springs as you lower the ramp. That is a lot of pressure for a few square inches.
Adding the aluminum will spread out that load at the place where the ramp is under the most stress.

I would think that even if water sill gets in and rots the wood, the aluminum will be sufficient to keep the ramp from failing.


Or get rid of the trailer.

I asked about the newer trailers and they still use Lippert doors. Is it the door or the way it is installed that is causing the problem.
 

porthole

Retired
Thanks, I have been looking at adding the aluminum plates to strengthen it, just haven't got around to locating the metal I need. My current ramp while showing some delamination on the inside bottom is still usable, carefully. I got the replacement while I could get some help from Lippert and plan on beefing it up for when it goes on the trailer.

Just thinking about it wouldn't adding plates on the outside force the ramp deeper into the hole and possibly mess up the geometry???

Need to add the same amount of thickness to the bottom under the hinges where it bolts to the trailer.

- - - Updated - - -

I asked about the newer trailers and they still use Lippert doors. Is it the door or the way it is installed that is causing the problem.

Improper installation of an unsealed door.
I would not buy a trailer with a current build Lippert ramp.
 

Bones

Well-known member
Need to add the same amount of thickness to the bottom under the hinges where it bolts to the trailer.

- - - Updated - - -


Improper installation of an unsealed door.
I would not buy a trailer with a current build Lippert ramp.

I would be trading one problem for another. Which is worse?
 
Top