Crosby clips
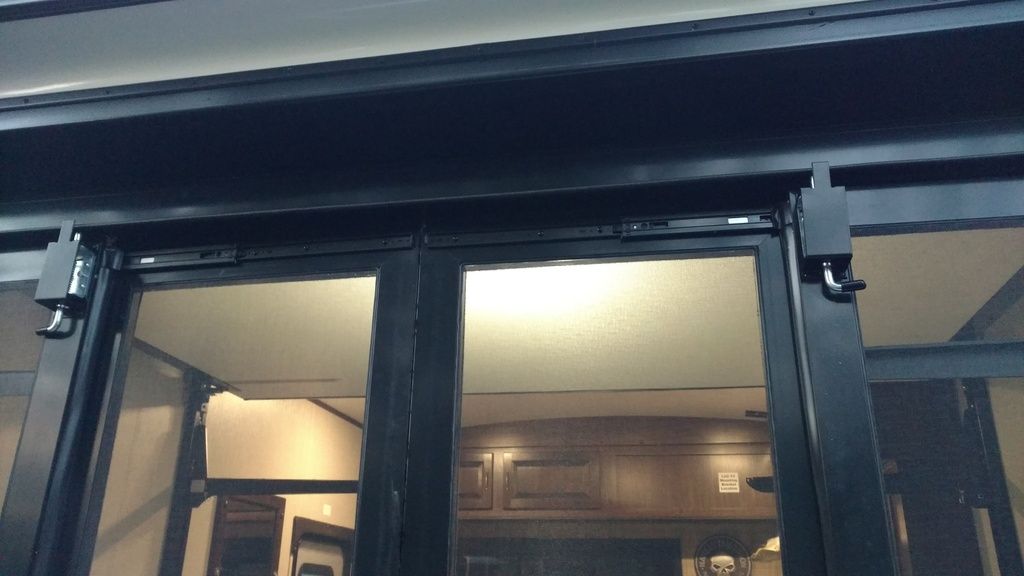
Mike, I added patio stays years ago, something to watch for - the eyebolts at the top. As close as I made mine they still just touched the door keeping it from sealing completely at the top. Took a little extra work for the clearance.
Your cables, what size are they? I have crimpers for up to 1/4" sleeves if you want to go that route.
I ended up using small chain. Was easier to store and make my final length adjustments.
Although I never got the notoriety, fame and fortune for it I will take credit for giving the manufacturers the idea for a patio.
All of the different manufacturers patio setups came out after I posted about adding chains and making the rear deck
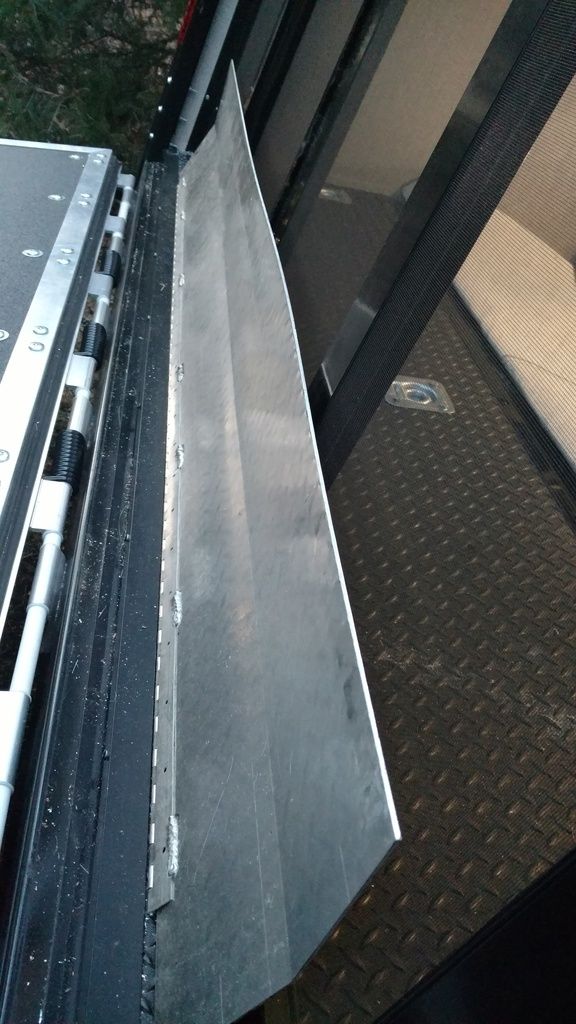
 4 eye bolts, two lengths of chain and I have a rear patio
- - - Updated - - -
4 eye bolts, two lengths of chain and I have a rear patio
- - - Updated - - -
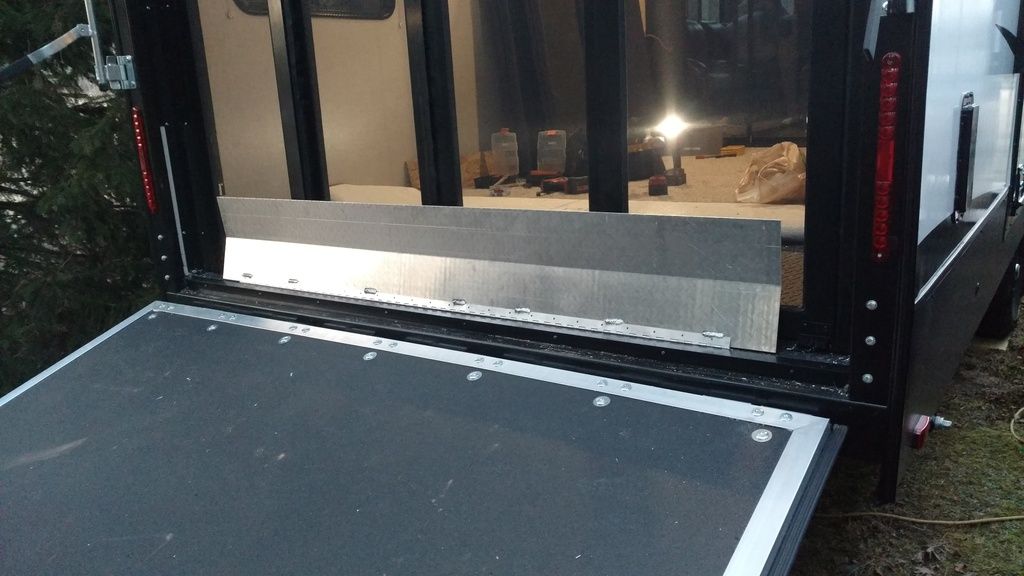
And - just so you know, there is
zero structural support inside the ramp - door.
I need to get around to posting my ramp necropsy pictures
Until then, the ramp is:
- 1/16" outer fiberglass panel
- 1/8" luan plywood oriented horizontally
- 1/32" 6" wide strip of aluminum over the seam (2 4x8 sheets of 1/8" luan)
- 2" of styrofoam
- 1/8" luan plywood oriented vertically
All of the above vacuum laminated
- Line-ex type interior coating
"Picture frame" extruded aluminum outer banding
- Extruding has some type of adhesive from the inner channels to the center of the door lamination - essentially glued to the styrofoam.
- 90 degree extruded aluminum (cleats for lack of the proper term) press fit and epoxied into each of the four corners (eight connections)
If water gets through to the luan - IT will rot and you WILL lose any structural integrity you had.
My SEEG almost went through the ramp in Virginia last year.
Cyclone ramp failure