I used the InterVac CS-8, corded version. These use standard 1-1/4” vacuum attachments, which you can buy anywhere.
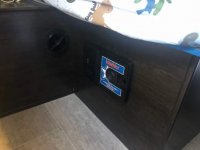
On factory-equipped models, the vacuum is installed in the pantry cabinet next to the bathroom, just above the circuit breaker/fuse panel. The cabinet is greatly modified and reduced in size. I chose to install mine in the underbed storage box in the front bedroom. Even in this location the compact-but-stretchy vacuum hose will reach anywhere inside my 24 foot trailer.
The first installation step was to fabricate something to hold the lid of the storage box open. Did I mention how difficult it is to access this space? Gas shocks would be a big help here; if someone has added them, please post about it!
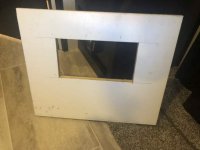
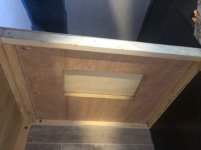
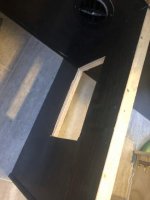
Next, I had to reinforce the very thin 1/8” paneling by cutting a piece of ¾” plywood to size to fit right up against it. I cut the vacuum opening in the plywood, then mounted the plywood, and cut the matching opening in the paneling. From here, installation is easy. The vacuum slides into the rectangular hole and secures with 4 clamps, one in each corner. Done!
To provide power, I cut a hole in lid of the storage box, ran the cord through, plugged it in, and I’m ready to vacuum! And with 2 little boys on the camper, this vacuum has been very helpful!


