Yellowreef
Well-known member
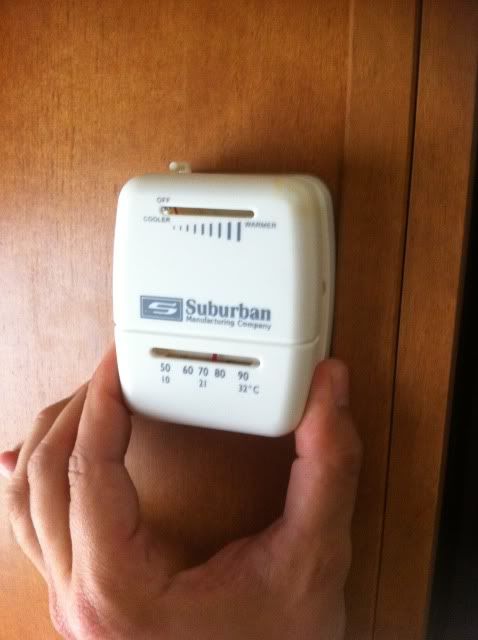
Although this is a very simple upgrade, I figured I would post some pictures and a brief how to guide. Note: This particular install only controls the furnace, as my Edge M18 does not have a wall mount thermostat for the air conditioner.
BEFORE YOU DO ANYTHING: Make sure that you are not connected to shore power and that your house battery is disconnected to avoid any unpleasantness.
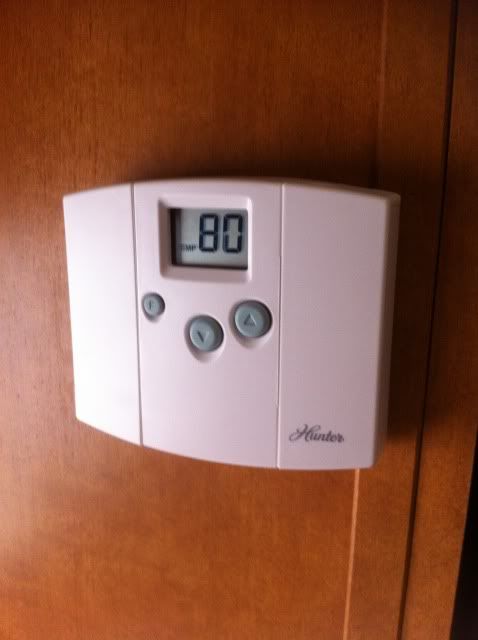
1) Locate your furnace thermostat and simply unclip the face from the walmount. It comes right off by pulling on it.
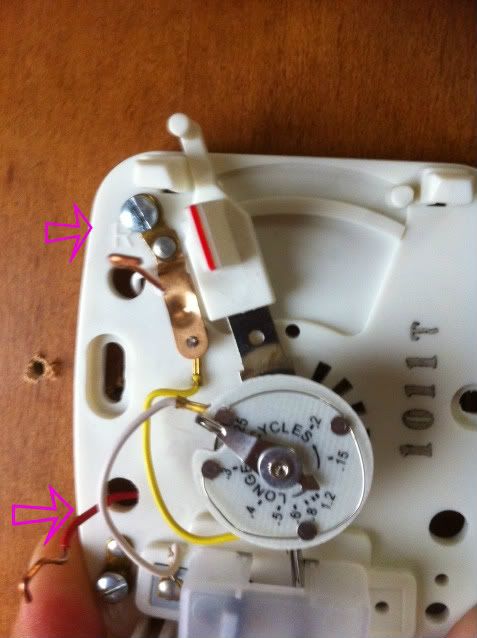
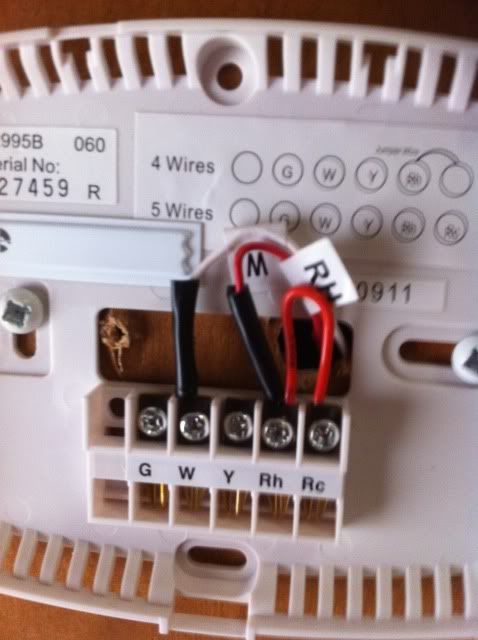
2) Locate the two wires that come through the wall and into it. Take note of which goes into what letter code on the thermostat. In this case one goes to R and one goes to W. Your new digital thermostat will have similar markings on it. Disregard the wire colors, they don't always apply. Disconnect the wires from the old thermostat. In this picture I have already disconnected them.
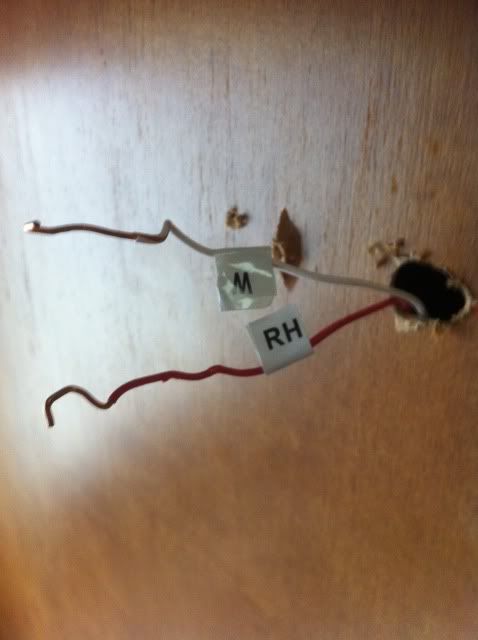
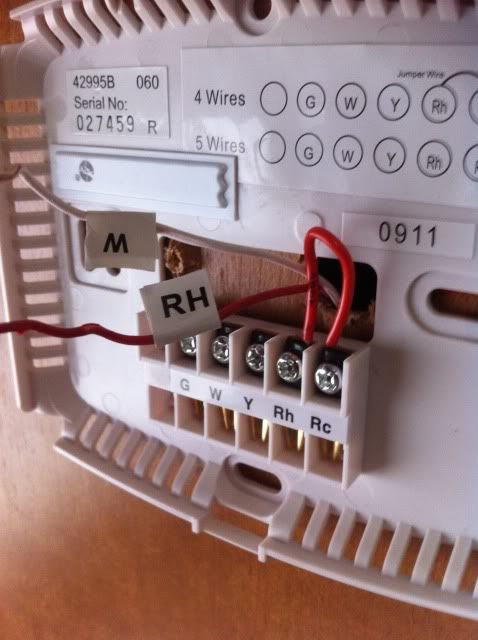
3) Mark the wires so you know where they came from. My new thermostat came with stickers for this purpose but you can use tape or something else. NOTE: My new thermostat has the capability of running heat and cool so it came with an RH terminal (heat) and an RC terminal (cool). The factory thermostat only has an R marking as it is made for the furnace only. This is the same as RH in the digital. In fact, my new thermostat came with a jumper wire between RH and RC to be left in place for two wire systems. It is explained in the instructions booklet for the new thermostat.
BEFORE YOU DO ANYTHING: Make sure that you are not connected to shore power and that your house battery is disconnected to avoid any unpleasantness.
1) Locate your furnace thermostat and simply unclip the face from the walmount. It comes right off by pulling on it.
2) Locate the two wires that come through the wall and into it. Take note of which goes into what letter code on the thermostat. In this case one goes to R and one goes to W. Your new digital thermostat will have similar markings on it. Disregard the wire colors, they don't always apply. Disconnect the wires from the old thermostat. In this picture I have already disconnected them.
3) Mark the wires so you know where they came from. My new thermostat came with stickers for this purpose but you can use tape or something else. NOTE: My new thermostat has the capability of running heat and cool so it came with an RH terminal (heat) and an RC terminal (cool). The factory thermostat only has an R marking as it is made for the furnace only. This is the same as RH in the digital. In fact, my new thermostat came with a jumper wire between RH and RC to be left in place for two wire systems. It is explained in the instructions booklet for the new thermostat.
")