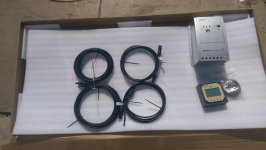
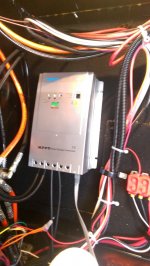
Brought my 3110 home yesterday and did not waste any time today I installed the solar package. I had solar on my previous toy hauler so had become accustomed to the advantage of hardly ever needing to run the generator (and no dead battery when I do need to start the generator!). We do a lot of primitive camping in the desert and mountains out here so I now consider solar essential to keep the batteries charged. Many thanks to all those who posted details on their installs, and responded to my questions, you gave me enough information to be confident taking on this project myself. The part that had me worried was routing the cables, the vent worked perfectly. I am glad I did this myself. Before I picked up the trailer I had dealer install a 2nd battery. Last week I purchased Renogy 300W package with MPPT controller, and 2 additional 10' cable extensions. Panels are wired in series to produce about 65V DC.
http://www.renogy-store.com/300W-Premium-Kit-p/kit-premium300d.htm
http://www.renogy-store.com/Renogy-10Ft-10AWG-Extension-Solar-Cable-p/extcb-10ft-10.htm
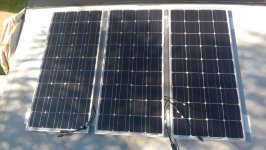
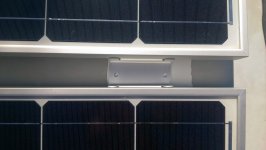
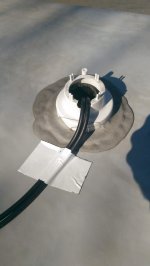
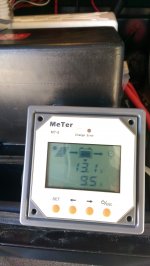
I mounted the 3 panels up front using Eternabond squares under the brackets and strips to hold the cables in place. Routed the cables down through the black tank vent. Notched the vent flange up top, and drilled a 3/4" hole in the pipe down below. For now I used Eternabond tape to seal it up but a more permanent install (as someone else suggested) would be to install a T and drill some holes on the cap for the wires. But I think this will be fine. Eventually I plan to locate the remote meter in the indoor control panel next to generator display, but for now I left it in the battery compartment. I took the panel photos before I sealed up the screws with Dicor. Note how I overlapped the brackets for the center panel. I used #12 1" sheet metal screws to attach to the roof, not the ones that came with the brackets.
Attachments
-
 IMAG0352.jpg344.2 KB · Views: 255
 -
 IMAG0356.jpg333 KB · Views: 266
 -
 IMAG0358.jpg379.6 KB · Views: 254
 -
 IMAG0359.jpg156.5 KB · Views: 263
 -
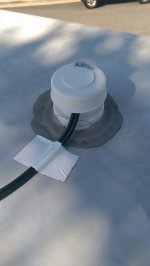 IMAG0360.jpg133.3 KB · Views: 230
 -
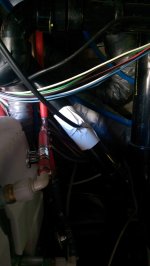 IMAG0363.jpg191.2 KB · Views: 257
 -
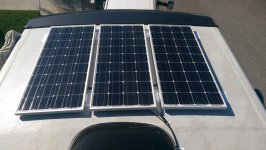 IMAG0365.jpg344.6 KB · Views: 254
 -
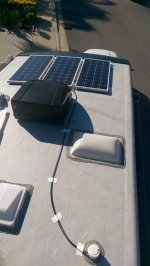 IMAG0367.jpg274.3 KB · Views: 247
 -
 IMAG0371.jpg348.6 KB · Views: 250
 -
 IMAG0376.jpg263.1 KB · Views: 247
