So we are owners of a brand new left over 2015 Torque 270HG. Very unique trailer and we love it so far (1 month). The dealer experience however was TERRIBLE! We live in Texas, have a home in New Mexico, and had to drive to Utah to get the trailer. One of the things that was important to us was a second A/C in the bedroom and the 5500 Genny to drive them both. We were assured no problem, paid for the upgrades before we had even seen the trailer and went out expecting to pick it up with a bedroom A/C. Well long story short it didn't happen. They said that Heartland doesn't prep for a second A/C in the bedroom of our model but they were able to put a second one in the living room. We were 1300 miles from home so we were stuck with it. It really didn't work like we expected it to, sooooooooo.....
I have the trailer up in the mountains of Taos cooler than Texas and I decided, well I'm going to figure this out because we're heading out to a campout in CO Thursday.
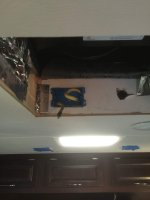
The problem is getting the 120 power back to the vent in the bedroom. I used a USB micro inspection camera attached to a fish tape to look for options to run the cable. Well I couldn't figure out any, except running down the ductwork of the primary A/C, exit the duct, and into the vent cavity. I did some research and found some 12/2 Romex that is rated to run inside ductwork. I pulled it down the duct using a fish tape and into the vent cavity no problem. Anyway we have yet to use it over night, but testing shows it works GREAT!
Probably the toughest part of the job is getting the old vent and A/C unit free of the sealant that holds them in, WOW, they are really on there. Anyway, here are some photos of the process:
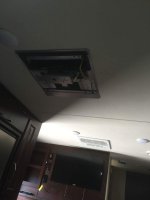
Photo 1: Living room with two A/C's I've got the cover off the one that was added by the dealer.
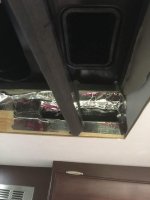
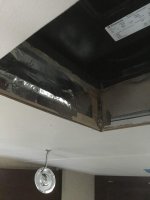
Photo 2: This might have been part of the problem. They cut into the duct system for a non-ducted A/C, see how the intake air is mixing with the conditioned air, no good.
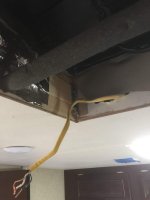
Photo 3: I pulled the Romex through the duct work
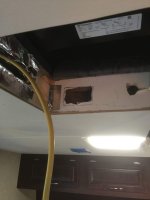
Photo 4: Supply cable that power the A/C in the living room
Photo 5: Pulled both into a junction box and connected them
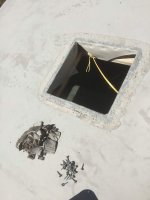
Photo 6: Pulled the A/C rooftop unit and bedroom vent and cleaned them up (lots of work)
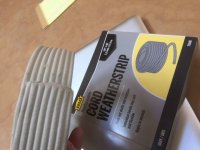
Photo 7: I used this sealer under the A/C and Vent
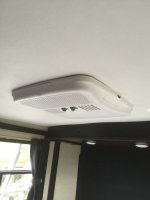
Photo 8: Finished A/C in bedroom
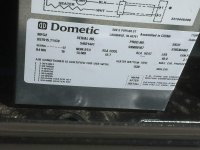
Photo 9: Direct vent A/C model I used in the bedroom
Photo 10: I used some 3/16 ply to box the vent cavity and duct, sealed them with aluminum tape.
It could be done in a day and of course it would be much easier to do a second time. I was told by the dealer they would charge thousands of dollars to install an A/C in a non-preped location, so I think it was worth a day of my time. Jump in the waters warm
Attachments
-
 IMG_2063.jpg57.9 KB · Views: 74
 -
 IMG_2064.jpg88.5 KB · Views: 69
 -
 IMG_2065.jpg63 KB · Views: 77
 -
 IMG_2066.jpg45.2 KB · Views: 68
 -
 IMG_2055.jpg36.7 KB · Views: 70
 -
 IMG_2057.jpg56.7 KB · Views: 72
 -
 IMG_2058.jpg41.7 KB · Views: 65
 -
 IMG_2060.jpg48.3 KB · Views: 67
 -
 IMG_2061.jpg42.4 KB · Views: 65
 -
 IMG_2062.jpg61.2 KB · Views: 70
