coltsdad
Texas-North Chapter Leaders-Retired
We decided to purchase a Cheap Heat after looking at several rigs with it installed. One of the main reasons was being able to heat the coach while its stored in my shop and not worry about propane exhaust and the heat from it is a huge plus.
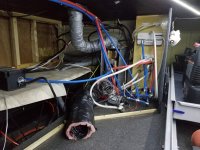
I started by removing the basement wall and trying to figure out a plan of where I was going to place the controller and circuit disconnect boxes. One of the first things was I found I needed to do was re-route the water lines behind the udc. The lines were going to interfere with the new plenum outlets on the Cheap Heat.
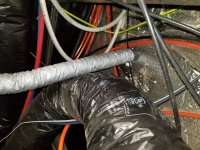
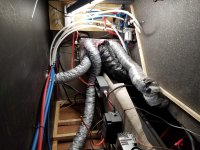
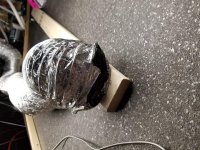
While I was looking at the water lines and duct routing. I found the underbelly heat duct laying flat in the insulation and blocked off. So I added a duct outlet to run a duct further back under the coach to provide better heating.
After blocking of the original ducts off on top of the original plenum. I installed the new plenum and attached the ducts.
I decided to mount the control box and circuit breaker box behind the basement wall as I hopefully will not need to access is very often. I placed them on the main floor level laying flat toward the off door side. I took the 50 amp power from the output side of the progressive industries surge protector and fed it to the circuit breaker.
The most difficult part of the install was running the wiring to the switch that sets the system to gas or electric. I decided to place it beside the thermostat and on our rig it is on the half bath wall. I could see from the basement there were studs in the way, so I had to pull the paneling down inside the half bath and drill holes through the studs to route the control wire to the basement. All the while hoping Audra didn't come out to the shop to see I had torn a wall out of the rig!
I made all the electrical connections on the outside of the unit and double checked all the other wiring connections. With my fingers crossed I flipped the breakers on and fired the heater up.
One thing I noticed there was more airflow out of the most rearward duct in the floor and could feel heat pretty quickly. It hasn't been cool enough since the install to really try it out yet.
I kept track of my time and have about four and a half hours over the period of several days doing the install. The instructions are well written and laid out. I talked with Larry from Cheap Heat before ordering and he stressed if I had any questions to call him.


