2010augusta
Well-known member
This will be a ongoing post to cronical my work in converting the King bed to a Queen the the bedroom of our Augusta. Fivernine did a great job documenting the change in a bedroom with an electric slide bedroom in his post King to Queen Too: A Bed Conversion, and I will try to do the same with our Hydraulic slide bedroom.
We really hate to lose the surface space of the King, but our backs can't stand the broken down mattress anymore, and we will soon need the extra space the queen frees up for the addition to our family coming in March.
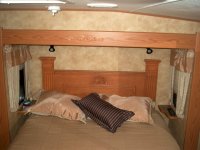
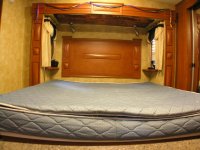
Part 0: The Before: here are a couple shots of the RV king as it comes from the factory. After almost 2 years of use it has been reduced to about 6" thick and has no comfort.
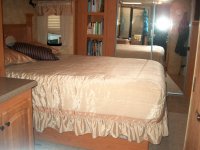
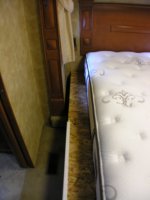
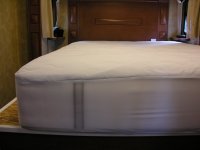
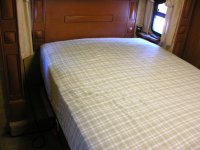
Part 1: The new Sterns & Fosters Queen mattress sitting on the king platform. it is MUCH thicker but still slides under the shelves.
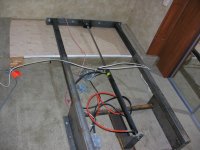
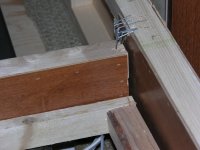
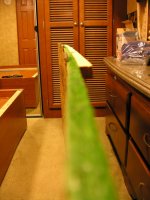
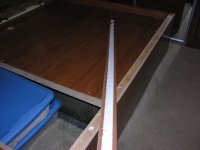
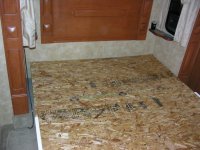
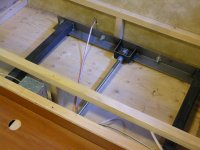
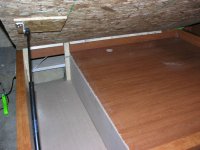
Part 2: Deconstruction: Taking the bed frame apart might be the hardest part of the conversion because it is held together with large construction staples and the line workers shoot them in from every angle, so it is very hard to pry apart. After removing the very warped OSB, I found the ONLY center support beam had pulled out of it staples and that was allow most of the sagging. Upon removing the finish panel at the foot of the bed, I found the one of the vertical supports was cracked as well.
I had to used a thin hack saw blade and cut all the staples on one side of the bed frame, this allowed me to get some leverage and deconstruct the rest of the frame.
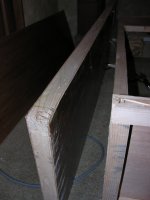
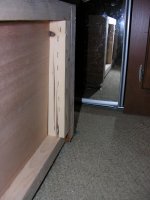
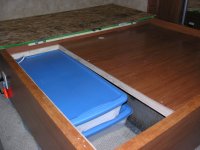
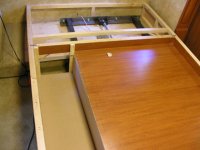
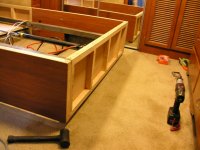
Part 3: Re-building: This involves a lot of measuring and cutting. I narrowed the box to be 58" wide, this kept the 2" gap on the closet side and made it flush on the bathroom side to keep as much storage under the bed as possible.
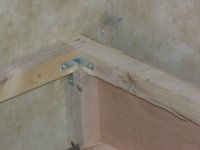
I used many of the steel "L" braces to keep corners together. I cut out the broken board at the foot of the bed and cut a new piece to replace it. The section is now screwed in-place and not stapled.
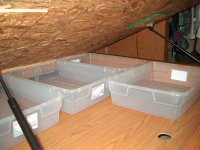
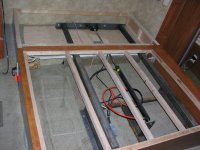
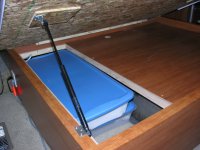
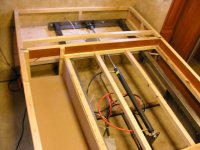
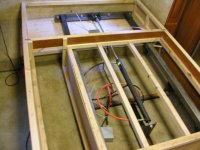
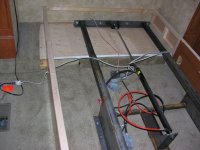
Next I started re-build int storage area. I was able to lower the floor for the main section over 1", and then framed in a dropped box to replace the area we had the bins setting. I used MDF to create the side and floor of the area.
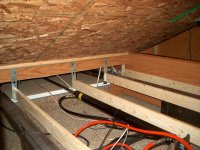
I also added a second center brace a few inches away from the factory one and added a vertical support to it and the brace at the head on the bed frame.
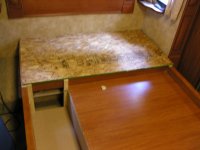
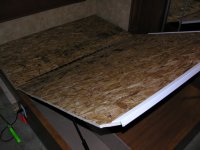
With the frame all finished up I secured the OSB to the top of the frame, and I replaced the 3 puny hinges with a 48" continuous hinge. this should help keep the sagging to a minimum.
I the end I barely lost any under bed storage, and now have to figure out and build something to fill the 10" space on the bathroom side of the bed.
Start to finish it took about 9-10 hours with several breaks and cost ~$40 in materials, mostly screws and braces, but the hinge was the single most expensive part at ~$10.
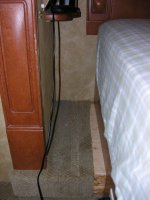
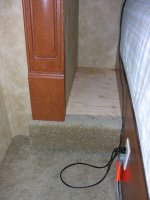
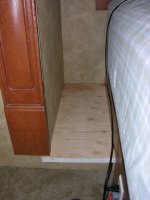
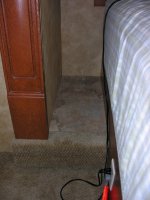
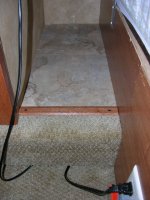
Part 4: Fixing the gap on the floor: So as you can see in IMG 9590, the conversion left a unsightly 3-4" gap in the carpet next to the bed. I solved this by carefully removing all the carpet, Turned the carpet piece 90* and cut it down to size to cover the front of the slide cover and wrap about 3" over the top of the floor. I attached the carpet with 9/16" staples.
I then bought a couple self-stick vinyl tiles and cut them to fit in the area next to the bed and wall. I installed a wooden transition trim piece to cover the rough edge of the carpet and make it look finished.
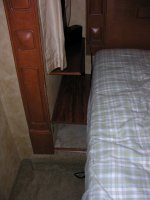
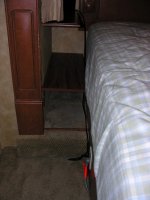
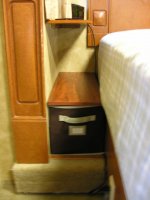
Part 5: adding storage: With 11 inches of space between the bed and wall I added a 24' deep shelf about 11"above the floor and replaced the factory night stand shelf with a 7.5"x23" shelf.
I found some 11x11x11 cloth boxes that can be used as drawers in the lower area.
Sandy already misses the square footage of the King, but we like the extra floor space and it will be needed in a few more months
Attachments
-
 DSCN7616.JPG97.1 KB · Views: 200
 -
 DSCN7619.JPG52.8 KB · Views: 174
 -
 DSCN7625.JPG47.5 KB · Views: 167
 -
 DSCN7639.JPG198 KB · Views: 136
 -
 DSCN7637.JPG113.3 KB · Views: 128
 -
 DSCN7636.JPG155.7 KB · Views: 147
 -
 DSCN7635.JPG141.2 KB · Views: 137
 -
 DSCN7634.JPG189.8 KB · Views: 152
 -
 DSCN7633.JPG164.4 KB · Views: 148
 -
 DSCN7631.JPG130.9 KB · Views: 150
 -
 DSCN7629.JPG147 KB · Views: 152
 -
 DSCN7628.JPG161.6 KB · Views: 161
 -
 DSCN7626.JPG206 KB · Views: 153
 -
 DSCN7648.JPG152.5 KB · Views: 125
 -
 DSCN7649.JPG110.4 KB · Views: 128
 -
 DSCN7650.JPG161.6 KB · Views: 126
 -
 DSCN7651.JPG174.7 KB · Views: 131
 -
 DSCN7647.JPG138.4 KB · Views: 122
 -
 DSCN7646.JPG161.1 KB · Views: 123
 -
 DSCN7645.JPG152.3 KB · Views: 127
 -
 DSCN7643.JPG168.1 KB · Views: 127
 -
 DSCN7641.JPG80.8 KB · Views: 126
 -
 DSCN7640.JPG197.4 KB · Views: 134
 -
 DSCN7652.JPG141.2 KB · Views: 139
 -
 DSCN7654.JPG138.4 KB · Views: 150
 -
 DSCN7660.JPG184.9 KB · Views: 92
 -
 DSCN7658.JPG150.6 KB · Views: 94
 -
 DSCN7663.JPG167.9 KB · Views: 96
 -
 DSCN7665.JPG202.4 KB · Views: 97
 -
 DSCN7672.JPG144.7 KB · Views: 294
 -
 DSCN7673.JPG138.5 KB · Views: 99
 -
 DSCN7674.JPG116.1 KB · Views: 108
Last edited:

