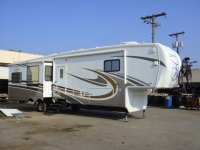
At the Heartland Owners Rally in Nashville I had our Landmark weighed. The results confirmed the rear axle was carrying more weight than the front axle. The rear axle was carrying 7,450 pounds and the front axle was carrying 5,500 lbs. This difference in axle weights was caused because I was towing the trailer about 2” to 3” nose high to provide enough clearance above the bedrails on a ’08 Chevy CC 3500.
The best solution was to raise the trailer 3” over the axles so that the trailer would tow level. I was already planning to stop in Elkhart and upgrade the Level Up system to an Automatic Level Up, upgrade to a larger airbag on the TrailAir TriGlide Hitch. I contacted TrailAir and they would be able to raise the trailer by cutting the spring hangers off and then welding a 2” or 3” square tube to the frame then welding the spring hangers to the square tube.
I began to research Air Ride Trailer Suspensions in the hopes the trailer could be raised and additional would provide ride height adjustment. The choices of a Trailing Arm Air Ride Trailer Suspension I located on the Internet are as follows, STI LBS Air Suspension, Independent Torsion Air Suspension, Price $ 7,005. Kelderman Air Suspension, Independent Torsion Air Suspension, Price $ 5,900. Lippert/Trailerflex, Solid Axle Air Suspension, Price $ 5,300.
A few days after the Rally I contacted Jim Belleti to ask about the Trailerflex Air Ride system that is on his trailer, so I could obtain a contact name and phone number. Jim gave me Derek Legros‘s name and phone number. Jim also told me the Lippert was partnering with Trailerflex to create a bolt-on aftermarket version of the weld-on version that is on Jim Beletti’s current demo trailer. I contacted Derek who verified the information. Derek put me in contact with Andrew Pocock at Lippert, Phone 574-535-1135. Andrew told me the suspension was priced at $ 5,300.
I then contacted Jerrod Lippert at Lippert to see that I could get a discounted price, since I had worked with him on Rally pricing on the Level UP upgrade. Jerrod had just heard about the suspension and needed to find out additional information and return my call. A few days later Andrew called me back after 6:30 PM and gave me a price that I could not pass up.
Andrew said this would be the first install of the suspension and it would take about a week to finish manufacturing the suspension before it could be installed. The original date set for install was August 3rd. But it was moved back to Thursday, August 5th. The install was set to begin about 9 AM, but did not begin until 3:30 PM, because the fabrication was being completed.
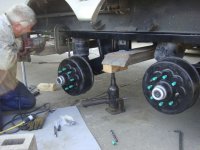
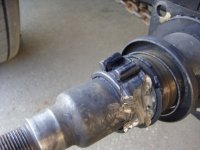
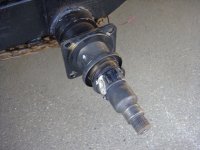
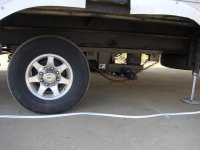
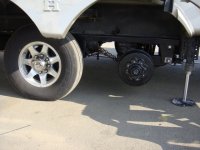
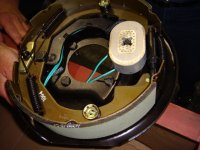
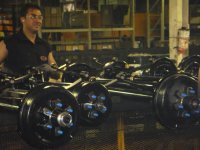
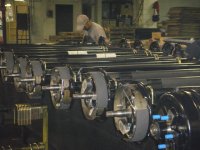
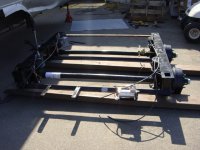
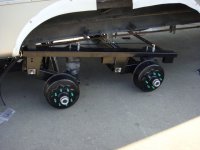
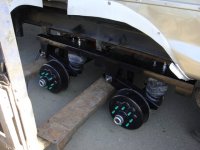
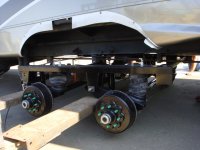
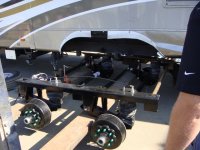
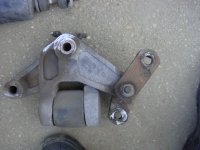
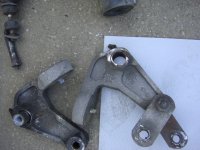
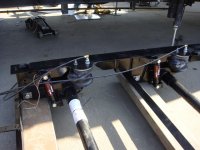
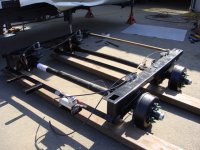
The install began by jacking the trailer up and then removing the tires and the spring suspension. When they removed the spring suspension the wet bolt bronze bushing were worn and one of the Dexter E-Z Flex equalizers fell apart when it was removed from the spring hanger, due to excessive wear on the wet bolt bushing. Next they loaded the Trailerflex-Lippert suspension on a fork lift and moved the new suspension under the trailer, lined up the mounting points and then lifted the suspension to the trailer frame. Then they bolted the suspension to the trailer. Next they hooked up the air lines to the air bags, valves, compressor and air tank. They worked on the suspension install until 8 PM. They noticed the air tank was mounted did not have enough ground clearance and needed to be raised. Also the suspension needed to be aligned. Because the suspension install was not completed and the tires were off the trailer, Andrew allowed us to stay in the trailer at the plant. We were provided with electric and water. The installation resumed at 8 AM on Friday and was completed about 1 PM. Lippert’s goal is to get the suspension installation fine tuned so that it can be completed in about 4 hours.
System Details –
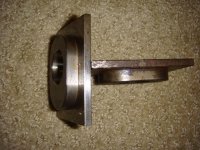
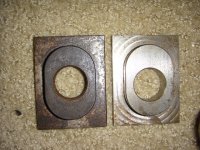
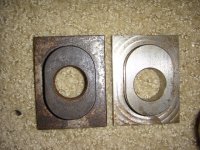
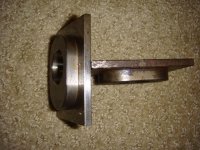
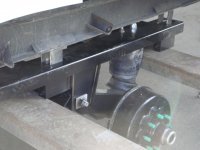
AXLE ALIGNMENT The axles can be aligned where the trailing arm pivot bolt attaches to air suspension frame. The air suspension frame has an oval hole where the pivot bolt goes through the frame. When the trailing arm is assembled to the frame an alignment washer, which is a rectangular washer with a round hole is placed on the bolt. The washer is rectangular on one side and is oval face on the other side with a round hole in the center. The rectangular is mounted on touching the bolt head or nut side of the bolt. The oval face side is place towards the frame side in the oval hole. There are 2 styles of alignment washer, one round hole is centered on oval and the other is the round hole is offset ¼” from the oval. After the pivot bolt is tightened during assembly the alignment washer is then welded to the frame.
COMPRESSOR
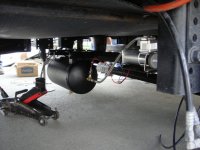
It's a Viair unit that has a regulator with a low and high limit on it. It is mounted on the TrailerFlex frame on the off-door- side. There is a 12 volt DC power toggle switch in the Battery Compartment next to the circuit breakers, so It can be turned off in the event of an air leak that would call for air and make the compressor run continuously.
TANK
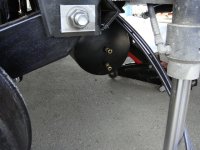
The air storage tank is mounted to the underside of the coach, up tight against the underbelly, side to side, door side in front of the front axle. It is 5 gallons. I believe I was told it can refill the air bags twice.
ACCESSORY AIR
There is a female air coupling under the frame rail on both sides, just behind the frame drop down. You can use this for two things. First, you can air up tires etc. Second, you can use it to add air into the air system in the event of a compressor failure on the road.
BAGS
There is 1 at each tire position for 4 total. They are Firestone. Each has a rubber stop or overload bumper in them so the unit can ride, in a failure mode, without air in the bag(s).
SHOCKS
There is 1 at each tire position for 4 total. They are Gabriel and appear to be pretty heavy-duty. I assume they are to control/dampen recoil.
AIR CONTROLS
Each side of the coach has 2 small blue-handle valves, side-by-side, just under the frame rail. The front-most valve isolates the front bag on that side. The rear-most valve isolates the rear bag on that side. Same deal for the other side of the coach. So 4 of these air bag isolation valves in total.
On the off-door-side, behind the sewer discharge and ahead of the front-most axle, there is an air-gauge and a 3-way ball-valve. In the normal position, the air system is connected to the bags, to the tank and to the pump. In the dump position, the air is dumped out of the bags only, but not the tank. And the pump does not run, as the tank is not calling for air as it is isolated in the dump mode.
OPERATION
In the normal operation mode, the compressor has charged the tank which has filled the bags. There is a mechanical level air valve on the rear axle, on the off-door-side. This controls how much air goes into the bags based on a predetermined and adjustable level ride height. In the normal mode, the 3-way ball-valve remains in the normal position and the DC power switch to the compressor remains on.
When I setup at a campground, since I have the Lippert Electronic Leveling system (6 points hydraulic plus 2 points electric for stabilization), I unhitch and pull the truck away. I then rotate the 3-way ball-valve to the dump position. The air immediately dumps out of all 4 air bags and the coach drops down in the rear by 3 inches from its normal ride height. I then hit the Auto-Level button on the leveling system and it does its thing. Done
Attachments
-
 Susp UG 01.JPG145.9 KB · Views: 629
 -
 Susp UG 10.JPG130.1 KB · Views: 531
 -
 Susp UG 09.JPG127.3 KB · Views: 521
 -
 Susp UG 08.JPG134.3 KB · Views: 492
 -
 Susp UG 07.JPG129.4 KB · Views: 519
 -
 Susp UG 06.JPG146.3 KB · Views: 538
 -
 Susp UG 05.JPG139.8 KB · Views: 511
 -
 Susp UG 04.JPG137.6 KB · Views: 511
 -
 Susp UG 03.JPG145 KB · Views: 538
 -
 Susp UG 02.JPG148.4 KB · Views: 553
Last edited:

