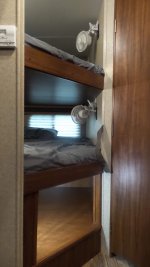
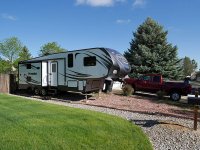
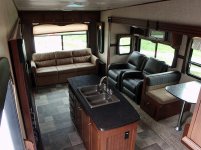
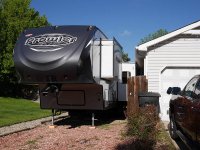
So we realized after spending a few nights in our new North Trail 24BHS that we needed some storage. The storage overall we found to be great, but we were left needing easy access space for the kids bags. So I lifted up the bottom bunk and removed the plywood/osb support to see if there was any space that was not utilized. What I found was and area about 24" tall x 24" wide x about 6ft long that only had a few pipes and water lines.
I began a search for some materials that would match the interior laminate wood trim and finish. To my surprise my local Menard's store stocked veneered particle board and trim accessories that matched perfectly. So the modification began with materials all planned out.
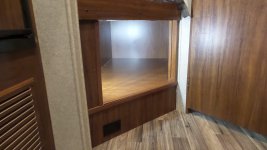
First I built a frame work from 2x3 lumbers to support the storage platform. I raised it a few inches over all the water pipes, drain lines, and heat duct. White I had everything open I moved the plug on the wall down and installed 2 additional plugs, one on each bunk for the kids phones, games, fans, etc. Next I installed 1/2 osb to created the support platform. I left the OSB loose so it can be removed to access all the plumbing if needed in the future. Over the OSB I installed the veneer particle board on the sides and the floor. I finished off the opening with some base trim and corner trim that also matched the interior. Oh I also added an LED light that matched the rest of the interior camper lights. The result is a storage space for my kids bags and it even fits my sons guitar case.
I will post a picture if I can figure out how.
Attachments
Last edited:

