SinisterDuck
Member
M26 Top Bunk Removal
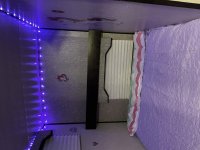
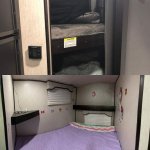
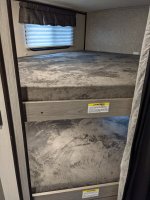
Finally did it. I have been looking around and wanted to do this since the first time we had guests stay with us. The bunks in the M26 are just way to close together (height) because of the outdoor kitchen. Even a small child would have trouble getting in and out of them and couldn't even sit up. We decided to remove the top bunk!
It wasn't bad, AT FIRST.
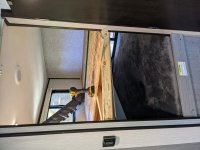
- Pulled the mattress, then the plywood pieces (already cut in 3, easy to remove).
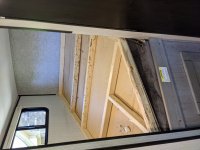
- Then its just screws along the perimeter of the wooden frame.
- Had to remove some of the stapled corner trim pieces below the bunk as the frame fit pretty close to the exact size of the room. Did this in order to manipulate the frame sideways to remove later on.
- Ran into 1 problem. There are 2 screws on the back wall, coming from the OUTSIDE of the RV. These can't be seen or accessed at all. I used a oscillating tool and cut the frame on either side of each screw and removed the entire frame. Then i just spun these small pieces of wood off of the protruding screws. Used a Dremel and cut the screws and will eventually use some putty to cover them for paint to match the walls.
- After that the walls have minimal signs of the bunk, the screw holes are very small and used some wall patch and my wife is going to put a small dab of paint to match the wall color and you shouldn't see them at all.
- Put the corner trim pieces back up and used a 1.5" nail from my nail gun to secure.
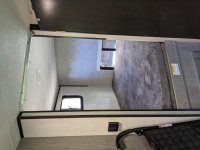
Put the top bunk mattress pad on top of the bottom one and then we are ordering a mattress topper, fitted sheets (after modifying) and will make this a nice bed.
Still have to wipe down walls and patch the screw holes but it should be really nice back there.
What do you think?


