SmokeyBare
Well-known member
I finally did the required repairs to a nuisance issue with water leaking out the bowl of the toilet. For the longest time it would happen... and after I cleaned the toilet seal real well with a brush it seemed to go away... only to come back. Well after we had guests it became a real problem.
I called SeaLand, a Dometic company... Phone # 1-800-321-9886.
I talked to a very pleasant customer service gal who explained that the company tried using a "Different" kind of seal on the model of toilet we had ( Model #210 ) and they found it was a problem. The Ball Valve was hitting the seal which prevented it from closing all the time... when it hit it leaked the water from the bowl.
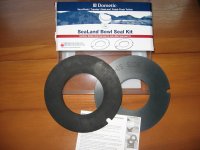
She was happy to send me a replacement seal kit:
( # 385311462 (without overflow holes) )
She explained the seal I will be removing from the toilet will look and feel much different than the one she was sending. The new seal was a flexible and much larger than the old one. The old seals I took out, only the lower seal was flexible and it was much smaller than the new seal. The top or cover on the old seal was a ridged plastic.
The process for removing and replacing required only a flat blade screwdriver and some cleaning tools. (cleaner and a rag or paper towels)
Be Sure to turn off the water to the RV so you don't accidentally hit the foot pedal and flood the bathroom !!!
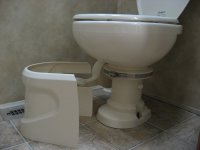
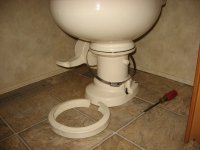
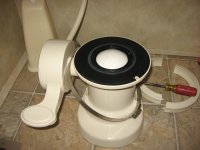
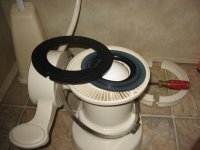
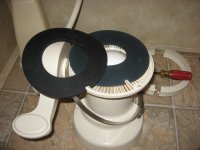
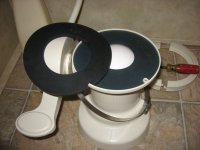
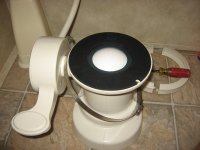
I would also recommend using gloves when working around any part of the sanitation system of the RV. I have attached the photos of the repair... pictures are worth a whole lot more than my attempt to describe the process.
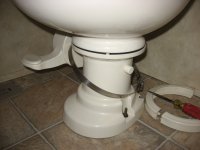
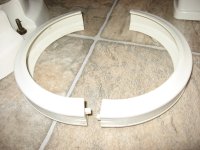
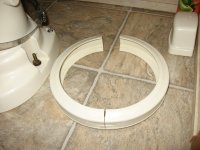
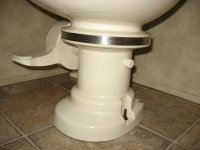
The last few photos shows a split ring that is held in place with the stainless steel draw band. I showed them apart and then put together to demonstrate the two points that slip together... this part of the split ring goes to the front of the toilet. Your going to discover there is a gap in the rear of these split rings... it's designed this way. Just lock the front together and place the stainless steel draw band over them and tighten.
Hope this is some help for those who may need to replace the seal for one reason or another.
Good Luck !!
Attachments
-
 IMG_3295.JPG511 KB · Views: 526
 -
 IMG_3296.JPG477.5 KB · Views: 430
 -
 IMG_3297.JPG452 KB · Views: 392
 -
 IMG_3298.JPG424.3 KB · Views: 380
 -
 IMG_3299.JPG423.1 KB · Views: 369
 -
 IMG_3300.JPG444.5 KB · Views: 359
 -
 IMG_3301.JPG414.9 KB · Views: 341
 -
 IMG_3302.JPG429.6 KB · Views: 340
 -
 IMG_3303.JPG398.5 KB · Views: 320
 -
 IMG_3304.JPG562.4 KB · Views: 313
 -
 IMG_3305.JPG555.5 KB · Views: 300
 -
 IMG_3306.JPG389.4 KB · Views: 317
