Update of completed project
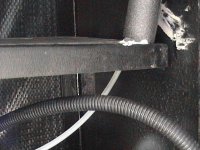
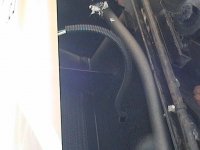
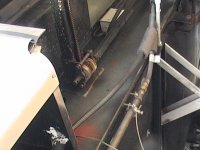
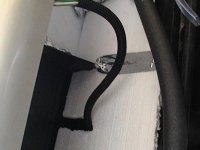
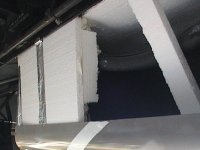
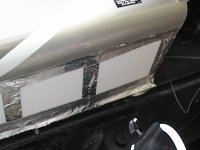
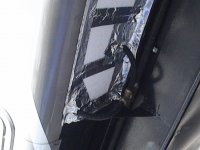
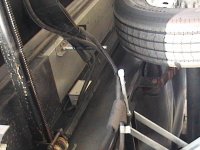
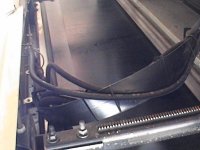
1. Use 1/2" I.D. foam pipe wrap and place around the white water line from where it comes down through the floor and back to the panel just in front of the tires (make sure that you put grommets where it goes through the 2 panels, or wrap them in heavy tape to protect from rubbing). See photo 1, 2 & 3.
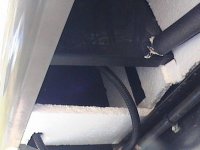
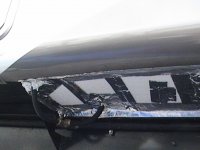
2. Cut and install 1" foam (hard) against the frame rail (allow room at bottom for the lower panel to fit into, and the front and rear metal panels. Then place foam in area just behind the metal outer skin, allowing the same room at bottom to fit in the lower panel. Tape all the areas down with exterior silver waterproof tape (Available at Lowe's for about $12 a roll and has a silver backing with polybutal adhesive - once it is on, will NOT come off!!) See photo 4 & 5.
3. Before moving on to closing in the bottom, check and see if your marker light has a snap on cover or if it has to be removed from the inside. Ours was snapped on from the outside so could cover completely; but, if your unit has the other type, you will have to box this so you can access. See photo 6.
4. I did not box in the top as it goes into the basement area that is heated.
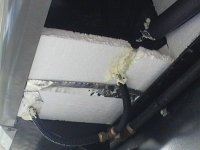
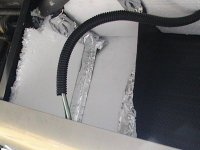
5. Started from the rear using the largest area that you can reach into, box the bottom (I used a scrap block to hold the line up so the foam could wrap around it). After each bottom is closed, use the spray foam to fill the area up at least 2" above the water line encased in foam pipe wrap. Tape together each block with the waterproof tape. See Photo 7 & 9.
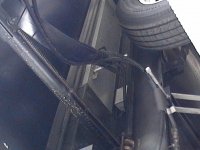
6. About half way, reverse to the front and start the same as 5. The problem here is the propane lines, which are wrapped in the black wrap and should allow any gas leak to escape (Make SURE that the connections are tight before enclosing the area). See photo 8 & 10.
7. When you get to the last area between the 2 boxed areas, cut a 2x2 hole in center to allow foaming in the middle, block in and tape the edges, then foam in through the opening left (I used a complete can of foam just to make sure completely covered here. See photo 11, just to right of center.
8. As can be seen in photo 11, tape the edges at the back and from along with the sides to make sure water cannot seep in around the edges. All of the boxed areas are then sprayed with black automobile undercoating (rubberized type).
9. Remainder of project: (Photos 12-14 are prior to wrapping. While we were having other on-site repairs completed, the service tech finished this wrapping and did not take pictures)--For the area from the rear panel through the spring into the slide and up through the floor, try to find the soft rubber (NOT foam type) pipe wrap, Cut the zip strips and wrap the water line in the rubber pipe wrap. Install new zip ties to hold the wrapped water line to the spring making sure it is attached to the frame, following the propane line. (I was told this alone will keep the water line operating down to 20 degrees for 4 hours, but I am trying to find the heat tape that is set at 80 degrees, DO NOT USE THE REGULAR TAPE as this will actually go above 100 degrees and could melt the hose).
 And the first time it freezes and bursts I will deny I ever said that.