TravelTiger
Founding Texas-West Chapter Leaders-Retired
Awesome!!!
Sent from my iPhone using Tapatalk
Sent from my iPhone using Tapatalk
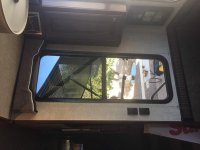
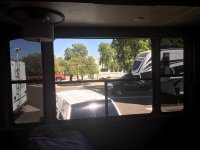
With all the glass in our rig we were looking for a solution to keep the heat down without using those shiny metallic things we see hanging in so many other rigs windows. We found this guy in Mesa AZ that agreed to come out and put some heat barrier tint on the windows. It is amazing the difference. Before he came we could feel the heat coming through the glass, and when the sun was hitting the windows directly we could not even touch them. Now after install it is barely noticeable. The rear AC hardly cycled today. We decided to go a bit darker as well but an almost clear film is available.
View attachment 48125
Only the top half is completed here.
View attachment 48126
Both of the side windows complete with the middle as OEM.
As I stated before it is a heat barrier first and it works amazingly well!
Hey Mike !! How bout listing some contact info for the "guy" !! ... We'll be in Mesa for the winter !! I would love to look him up !! Thanks
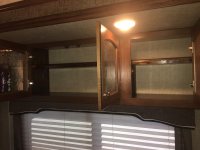
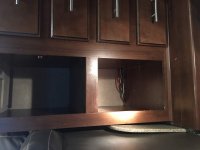
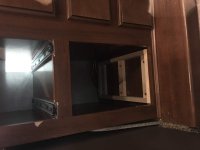
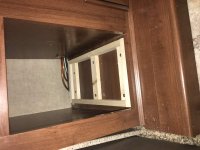
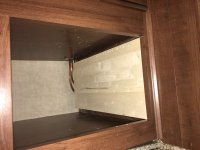
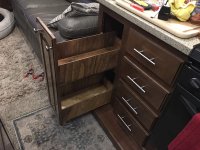
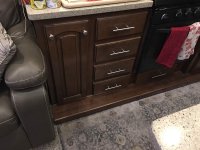
I apologize for the side ways pics, not sure what happened.
I think the iPhone happened . . .
This seems to be an iPhone issue with the sideways photos.
I think the iPhone happened . . .
This seems to be an iPhone issue with the sideways photos.
Yeah, I think you're right. I posted two photos last week, both shot at the same time with an iPhone. One came out sideways and the other correctly. Could not get the sideways one to display correctly on this forum regardless of what I did.
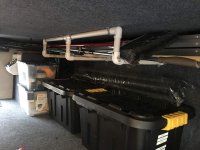
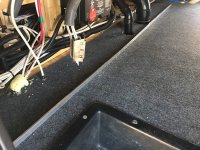
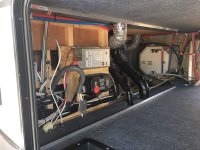
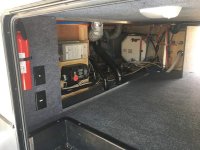
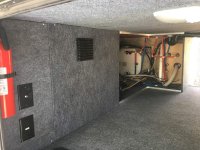
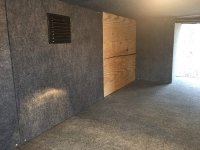
I was able to finish a couple of mods that I have wanted since we bought our rig. The first was a rack in the ceiling of the basement to hold mostly my collapsible ladder among other items. I just used 3/4 inch pvc, 2 hole pipe straps, and a few screws.
View attachment 49979
I also had the time to move our basement wall back. The original wall started over the lip of the black tray. I used aluminum L stock and screwed them into the floor and ceiling.
View attachment 49980 View attachment 49981
One of the issues I had was that the cable connection and electrical outlet were installed so far inside the bay that I had to remove anything in front of them to use them. Originally they were in line with the vent cover. The basement wall was 3 pieces from the factory and now it is 5.
View attachment 49982 View attachment 49983
The almost finished wall. There must be a gray felt ban in our area as we were unable to find any. I was able to pull the felt back off of the existing wall, cut it, re glue it, and use it for two of the 5 pieces I wanted.
View attachment 49984
The difference in storage space may not look like much but it made a huge difference. I am not sure why they don't just put the wall as far back as possible at the factory.
Your basement wall looks great. I know that was a great improvement when I did mineI was able to finish a couple of mods that I have wanted since we bought our rig. The first was a rack in the ceiling of the basement to hold mostly my collapsible ladder among other items. I just used 3/4 inch pvc, 2 hole pipe straps, and a few screws.
View attachment 49979
I also had the time to move our basement wall back. The original wall started over the lip of the black tray. I used aluminum L stock and screwed them into the floor and ceiling.
View attachment 49980 View attachment 49981
One of the issues I had was that the cable connection and electrical outlet were installed so far inside the bay that I had to remove anything in front of them to use them. Originally they were in line with the vent cover. The basement wall was 3 pieces from the factory and now it is 5.
View attachment 49982 View attachment 49983
The almost finished wall. There must be a gray felt ban in our area as we were unable to find any. I was able to pull the felt back off of the existing wall, cut it, re glue it, and use it for two of the 5 pieces I wanted.
View attachment 49984
The difference in storage space may not look like much but it made a huge difference. I am not sure why they don't just put the wall as far back as possible at the factory.
Love to see a "before" picture of your basement wall. Doing this mod is HIGH on my list.
