CarterKraft TQ290 mod thread

CarterKraft

Well-known member
I am not the best documentarian around so this might be a train wreck.

I don't even have pictures for allot of these mods.

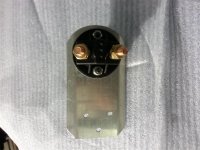
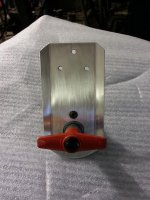
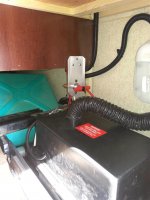
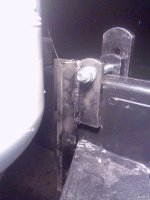
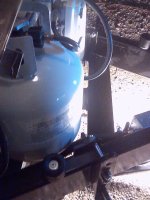
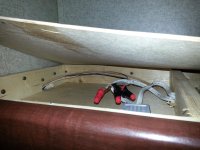
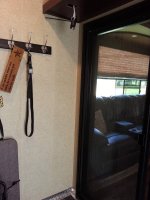
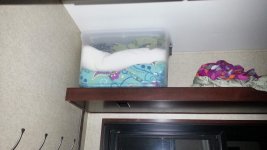
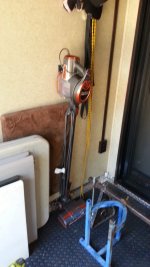
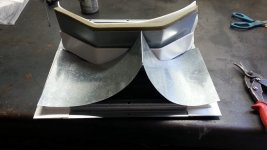
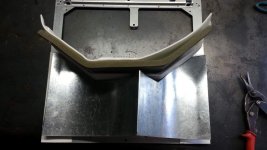
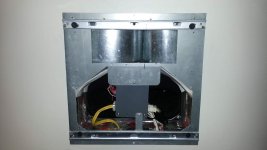
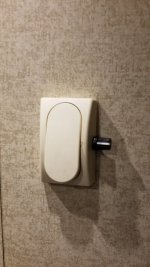
Batttery disconnect switch
20140215_124223.jpg20140215_124346.jpg20140215_124507.jpg20140215_125126.jpg

- - - Updated - - -

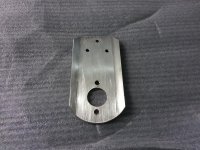
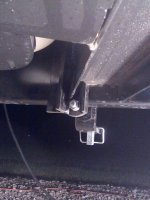
Equalizer hitch weight bar bracket rework to achieve the correct dimension from ball center to arm.
IMG_20131107_195607_226.jpgIMG_20131107_195518_779.jpgIMG_20131107_195632_055.jpg

- - - Updated - - -

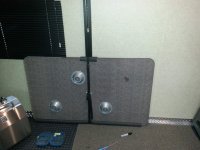
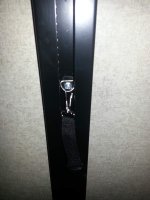
Garage table storage strap.
I reworked the little D rings that came with the kitchen and garage tables to allow me to secure the tables/chairs against the off door side happi-jac bed rail. I don't use the wood tables any more in favor of poly folding tables. They are allot lighter, easier to handle and way more versatile. There needs to be some caution used here as lowering or raising the platform with the strap hooked to the D-ring will for sure jam the mechanism. My wife has that T-shirt...

Ideally I will machine some "T's" out of aluminum or UHMW to slip in the slots.
20140308_132842.jpg20140308_132817.jpg
 

Attachments

  • 20140308_132835.jpg
    20140308_132835.jpg
    99.2 KB · Views: 100

jbeletti

Well-known member
Nice mods and a nice start to what seems like it will be a lengthy thread of great mods over the years. Thank you for your willingness to share what you are doing. I'm a firm believer that this sort of sharing gives other RVers some great ideas to help make their RV lifestyle even more enjoyable.

Plus - you've got some mad machining skills, so it will be fun to see what you make next :)
 
Last edited:

CarterKraft

Well-known member
Thanks guys!

One of my biggest downfalls is documenting stuff I do. Once I get rolling a camera is not a tool I pick up.
I need to get a better system of picture storage so I can at least find the pictures I have taken.

- - - Updated - - -

These are not on the trailer but pertain to trailering...
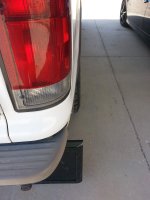
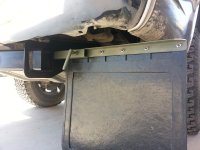
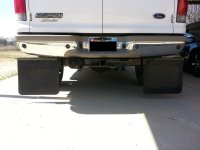
Detachable mudflaps.
The wife is not keen on mud flaps on HER truck so I made them detachable.
Simple 3/4" pipe welded to the reciever hitch then slip on frames made with locking bolts.
20140301_131309.jpg20140301_131255.jpg
 

Attachments

  • 20140301_131243.jpg
    20140301_131243.jpg
    68.5 KB · Views: 91

CarterKraft

Well-known member
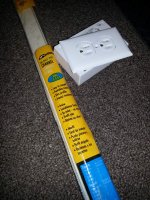
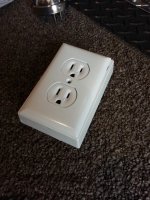
This model Torque has zero wall mounted electrical outlets. That seems to be pretty normal as the wall construction doesn't lend itself to accepting the internal wiring.

My wife has to have scentsy smell good things plugged in at all times. So this was unacceptable to only have one outlet in the whole trailer that would accept it.

Using WireMold I made a track down out of the rear storage shelf to house a plug. I don't have any finished pictures for some reason but I'll get one.
20140803_150653.jpg20140803_150643.jpg20140803_173243.jpg20140803_150610.jpg20160106_195452.jpg

- - - Updated - -
20161120_144448.jpg

One of the best mods I have done, should come from the factory this way IMO.
The famous TimK tent in the vent mod.
 

Attachments

  • 20160601_184309.jpg
    20160601_184309.jpg
    62.5 KB · Views: 114
  • 20160601_184312.jpg
    20160601_184312.jpg
    67.9 KB · Views: 116
  • 20160609_191756.jpg
    20160609_191756.jpg
    51.9 KB · Views: 121
Last edited:

CarterKraft

Well-known member
First ever dirt biking Thanksgiving in process.
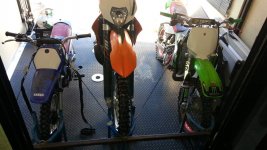
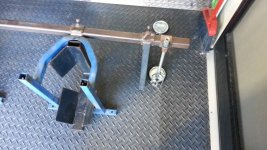
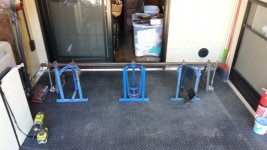
I reconfigured the bike chock bar for two little bikes and one large. I have several chocks made up to swap on and off the bar. I added two more tie downs a foot to the rear so I can still walk around the front. I bought the toy hauler to be able to take the dirt bikes but this will mark the second dirt bike trip in 3 years of ownership.
20161120_152217.jpg20161120_144436.jpg20161120_144443.jpg

- - - Updated - - -

I skipped the Living room TV when I ordered the trailer and have only missed it a few times.
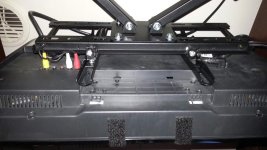
I finally got one installed because I can't break tradition of watching the Cowboys on Thanksgiving.
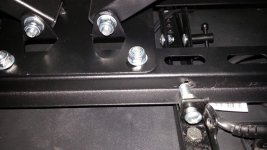
Moral of the story here is to spend the extra money and buy the RV specific TV mount. I spent way too much time beefing up the retention method of the sticks and bricks mount.
20161119_163313.jpg20161119_163302.jpg20161119_163234.jpg
 

CarterKraft

Well-known member
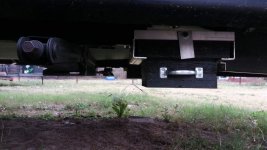
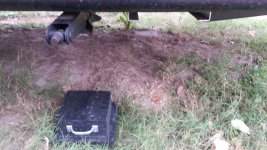
This is one of my favorite mods so far. I don't have any cool stabilizer systems on my rig only the scissor jacks. With the trailer as tall as it is it requires a small lumber yard of wood to get it leveled or supported. I got some 2" thick plywood from work and thought it would make a good base for the jacks. I built the blocks from 3 pieces of the ply and the middle is drilled in a clover pattern with a 3" hole saw to reduce weight. I sealed them with Duplicolor bed liner spray and attached drawer pulls to aid in handling. The whole point of the blocks was to have them stored at each jack so I can simply grab them out of there carrier and flip them over place under the jack and using my cordless drill lower/raise the jack. I built the racks out of aluminum angle and flat strap with a gravity latch to keep them in the cradle. I used a lock washer between the latch and the cradle to keep the latch vertical in either position. It works great and the only thing I would change is to add another layer to the rear blocks as I seem to always be in a spot that the rear is high and the nose has to be dropped to get level.
20161127_154748.jpg20161127_154759.jpg

- - - Updated - - -

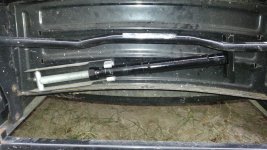
Another simple mod to a mod. I can't stand mushy steps so I added the step support rods awhile back to the middle tread on the front and rear door steps. With the support on the middle tread and the steps being so high off the ground it required 4-6" of blocks to get a surface to place the support. That has annoyed me since I installed the supports and last week I fixed that problem. I added 5" of 3/4" pipe to the rods. This allowed me to screw the rods up on the threads and gives me the ability to reach the ground no matter the condition.
20161127_153918.jpg
 

CarterKraft

Well-known member
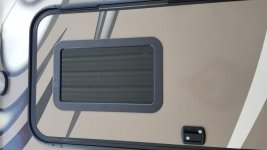
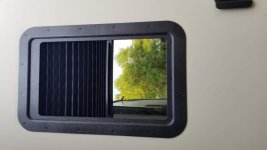
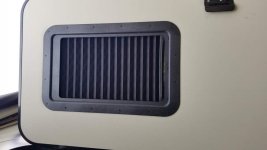
I have hated the obscure glass of the front & rear entrance doors. I saw the shaded windows on E-bay and recently found them on Camping World and Dyers at a price I am comfortable spending.

Very simple process to change just remove the old screws and frames clean the old butyl and install the new windows.
The rope trolley arrangement is a little hokey and it flew apart on me several times while trying to install the inside to the outside frame, not dropping the glass etc. but I finally got it with the help of some blue painters tape on both the outer frame and glass.

The glass is clear and came tinted already which should really help with heating and give us a much better view of the campsite. The wife is super happy with them, and the removal of the reflectix which she has hated.
 

Attachments

  • 20180707_193204.jpg
    20180707_193204.jpg
    41.1 KB · Views: 66
  • 20180707_193229.jpg
    20180707_193229.jpg
    43.5 KB · Views: 67
  • 20180707_193220.jpg
    20180707_193220.jpg
    37.1 KB · Views: 67

CarterKraft

Well-known member
I recently upgraded the tow vehicle to a 2018 F-350 with the ultimate camera system.
I purchased the camera/TPMS system off E-bay and have started the install on the trailer.

TIP: I found various part numbers for this kit. The most current part number is HC3Z-19G490-J and has a retail price I have found for $550ish. I found the earlier version of the kit with no discernible difference at $360ish price and purchased that kit and I can't tell the difference, it is part HC3J-1A515-AA.

The connectors are rather large and thus have very large grommets to seal the holes that have to be created.
I am not a super fan of that, but I am getting worn down trying to perfect everything so I socked a 1" hole in it and used the as supplied Ford grommet.

I'll update this with more details as I get the various parts installed.

20180707_192721.jpg
 

Jesstruckn/Jesstalkn

Well-known member
Just went through this tread.
Nice work. Keep it up !!!!
All the changes you do now you will enjoy for many years to come. I have a lot of Mod's that I have done and think back and say to myself "way didn't I do these things on my last few RV's"
This forum has empowered me to dive in go for it.

Jerrod


Sent from my SM-N950U using Tapatalk
 

CarterKraft

Well-known member
Thanks Jerrod it means allot coming from one of the Masters.

I have some other completed mods that I have not added but now the thread is open again I will get them up.
Just went through this tread.
Nice work. Keep it up !!!!
All the changes you do now you will enjoy for many years to come. I have a lot of Mod's that I have done and think back and say to myself "way didn't I do these things on my last few RV's"
This forum has empowered me to dive in go for it.

Jerrod


Sent from my SM-N950U using Tapatalk

Sent from my SM-G950U using Tapatalk
 

CarterKraft

Well-known member
My interior has all LED lights which is great but they are pretty bright (also good) but at night when I'm trying to relax or set the "mood" I would like it toned down some.
JR product sells LED dimmers that are really nice but they are $60ish dollars each. That's too rich for this tight ***.
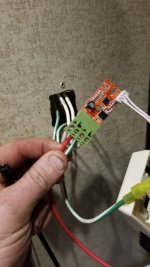
I bought 2 of these PWM LED Dimmers off Amazon for $10. This isn't the same brand name I used but they look identical.

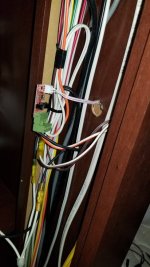
In the bedroom I have a single switch in done paneling of the closet that the back is removable due to being the wire chase co the roof. It was easy to gut the circuit board out of the plastic box and zip tie it inside the chase. I drilled a 1/4 hole for the potentiometer to stick through.
20180304_154937_3b62c4265b36054eed9170f7ba88038389b279f1.jpg
20180304_154921_bb3bdedbb7ec05c8762e7adb9a44a9ab7b81a82f.jpg
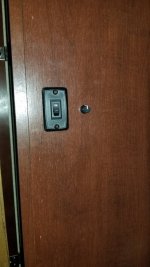
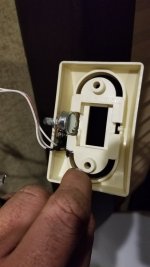
That was the easy one. The living room switch is in the slide wall itself and has a large rocker switch cover on it. I had to enlarge the hole in the paneling to allow the circuit board to fit in the wall. The easy way would be to just surface mount the dimmer, but that ain't how I roll. There was just barely enough room to allow the potentiometer to be mounted to the side of the rocker cover hiding it somewhat from view.
20180308_194150_0c037965066a5aa5c76b8ebe860467f0c5a55c05.jpg
20180308_194202_484bf1906b8c3173c670697b95e9ccb59bd21801.jpg
20180308_194946_a9ecded650573bc1e6d31977a081bfe0f4c7ca37.jpg

In both cases you have to break the + and - going to the LED. This might be difficult in some installs but on both of mine the negative was in the same chase as the positive, infact they are duplex cables (two wires joined in the middle) like a lamp cord or trailer wire. There is a fire danger with the exposed circuit boards but I think being inside a wall with little to no air it would suppress any thermal event. Fingers crossed....
They are awesome to have, you can dim from barely any light at all to max in 3/4 turn. I am going to put another one on the reading light above the bed.

Sent from my SM-G950U using Tapatalk
 

CarterKraft

Well-known member
Got the start of my DIY "level-enuf" system installed finally. I'll start wiring it this week when my parts come in.

Sent from my SM-G950U using Tapatalk
 
Top