DIY: Repacking wheel bearings and brake adjustment (with pics)

newbie

Northern Virginia
Here is a step by step 'how-to' for Lippert bearing repacking and drum brake adjustment. This is based on the Lippert Bearing Inspection and Maintenance manual and Brake Maintenance and Inspection Manual.
Figure 1-2 hours per wheel.
To get started, you'll need a set of seals (Lippert 122088- for 5200, 6k and 7k axles) I'd figure four cans of brake cleaner and 2-3 rolls of paper towels, a 16 oz tub of high quality lithium wheel bearing grease, as well as everything else in the picture
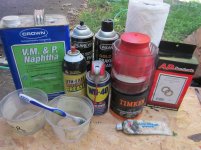
IMG_2147.jpg
A stool and a couple fury helpers is optional
IMG_2143.jpg
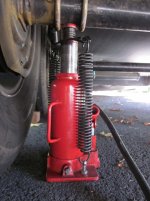
Jack a wheel up under the axle
IMG_2144.jpg
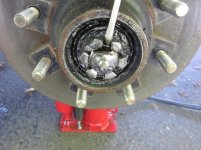
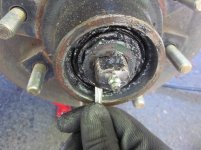
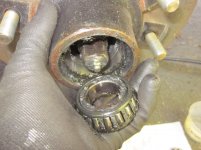
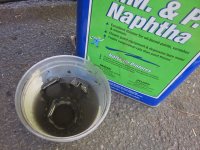
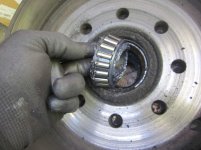
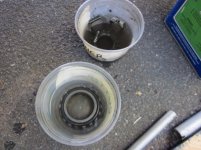
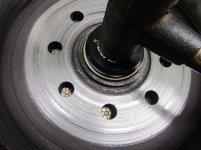
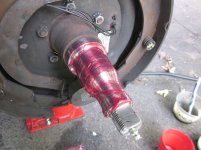
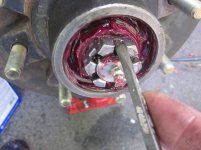
and remove the wheel. Pry the dust cap loose. Push the tab down on the lock washer and remove the king nut, tab washer and bearing washer. Give the drum a couple pulls to help the outer bearing come out. Be careful not to let it drop. Wipe of excess grease and set in a cup of solvent.
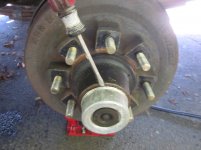
IMG_2148.jpgIMG_2152.jpgIMG_2149.jpgIMG_2153.jpgIMG_2154.jpgIMG_2156.jpgIMG_2157.jpg

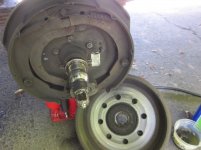
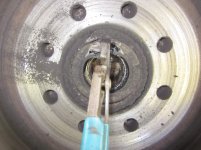
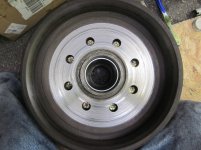
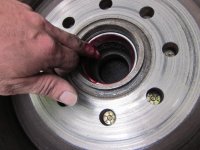
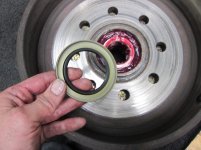
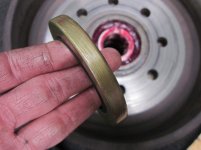
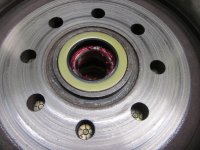
Now pull the drum off the spindle. Use a seal puller or channel locks remove the old seal being careful not to pry on the bearings. This was a little tricky and took a few minutes of prying and wiggling to get it off. Wipe the old grease off the bearings and place in a cup of solvent.
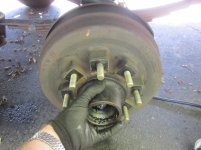
IMG_2158.jpgIMG_2159.jpgIMG_2160.jpgIMG_2161.jpgIMG_2162.jpg

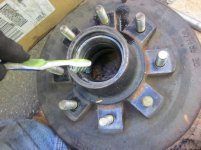
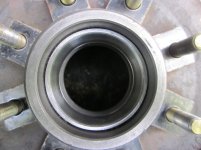
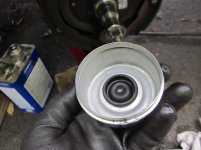
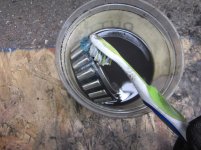
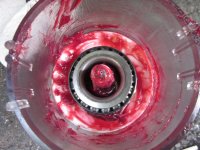
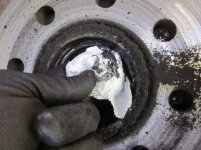
While the bearings are soaking, use brake cleaner and paper towels to remove all the old grease, brake dust and grime from the drum, bearing cups and dust cover. Try to keep any grease off the brake pad contact area of the drum. An old toothbrush is helpful.
IMG_2163.jpgIMG_2164.jpgIMG_2165.jpgIMG_2166.jpgIMG_2167.jpg

Continued...
 
Last edited:
newbie

Northern Virginia
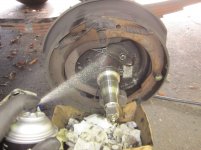
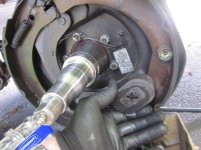
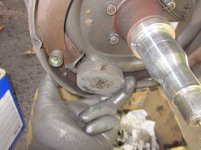
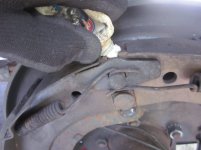
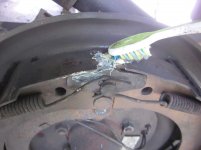
Now use brake cleaner and a brush to clean the brake assembly and spindle. Move the magnet to the left and right to actuate the individual pads so the linkage gets cleaned too.
IMG_2169.jpgIMG_2170.jpgIMG_2171.jpg
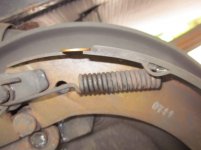
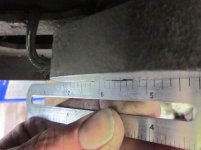
Inspect the pads for wear and replace per the manual. They are to be replaced if less than a 1/16th" (penny for reference) Also inspect the magnet. Both of mine looked good.
IMG_2172.jpgIMG_2183.jpgIMG_2176.jpg

Once everything is clean, apply white lithium grease to the linkage and pivot points for the brake arms. Be careful not to go crazy with the grease and clean up the excess so the pads and drum won't get contaminated with excess grease. The toothbrush is help here too.
IMG_2179.jpgIMG_2180.jpgIMG_2181.jpg
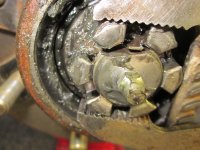
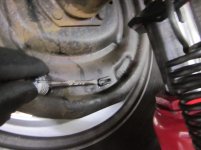
To make the brake adjustment easier (last step), spray some WD-40 on the star adjustment nut. I also turned it 2-3 threads to so I don't have to do all that cranking from the back side later. Don't expanded it more than a couple threads or you won't be able to get the drum back on. Also take note as to which way the star nut will need to rotate when viewed from the back side, adjustment hole. Remembering this will save a lot of frustration later.
IMG_2186.jpgIMG_2187.jpg
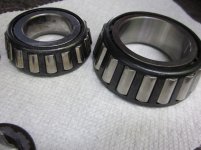
Once the drums are clean, inspect for wear per the manual. Set the drum aside and clean all the old grease from the bearings. The toothbrush is a must here. After the bearings are clean and dry, inspect them for wear and replace per the manual. My drums and bearings looked good.

Now it is time to repack them. I used the Lisle Handy Packer I bought on Amazon for $20. It worked really good. Pack the inner (large) bearing first.
IMG_2188.jpgIMG_2189.jpgIMG_2191.jpg
Make sure to coat the outside of the bearings with grease as well. Apply a thin film to the new seal and a light coat on the cup. Place the bearing in the inner cup and gently tap the seal into place using a block of wood or seal driver. Be careful not to get any grease on the drum surfaces. Wipe off excess grease from the seal after it is set.
IMG_2192.jpgIMG_2193.jpgIMG_2194.jpgIMG_2195.jpgIMG_2197.jpg

Continued...
 
Last edited:
newbie

Northern Virginia
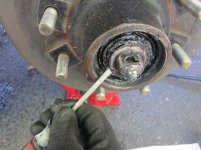
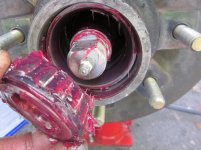
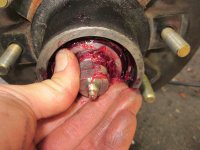
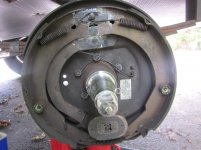
Grease the spindle and slide the drum on. Then pack the outer bearings. Be sure to cover the outside of the bearings as well. Lightly coat the cup with grease. Push the bearings into the cup, taper side in. Install the cleaned bearing washer, tab washer and king nut. Tighten the king nut (50 ft lbs.) then loosen it and then re-tighten it hand tight until the lock tab aligns with a slot. If it won't align at hand tight, loosen it until it does (do not tighten to get it aligned). Bend the tab up with a small screwdriver.
IMG_2198.jpgIMG_2199.jpgIMG_2200.jpgIMG_2202.jpgIMG_2203.jpg

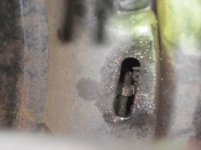
Tap the clean dust cover on with a mallet and reinstall the wheel. Spin the wheel and note the drag. Keep the jack in place and crawl behind the wheel. Remove the brake adjustment cover and turn the star nut to expand the brake pads. Continue spinning the wheel until it becomes very difficult to spin. Then reverse direction on the starwheel nut until the wheel turns with a slight drag.
IMG_2205.jpgIMG_2206.jpgIMG_2208.jpg

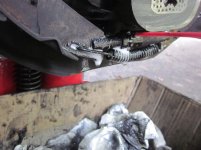
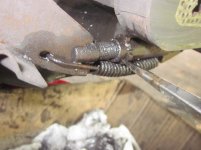
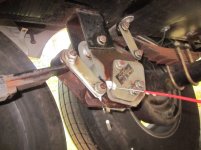
After all the wheel are done on that side, spray WD-40 on the leaf spring hanger movement points as well as the frame hanger (Equa-Flex). If yours has grease zerks, grease them as well. While your under there, now's a good time to inspect the springs, shocks, u bolts, etc. I found a shock that needed replacement.
IMG_2210.jpgIMG_2211.jpg
Finally, I would recommend wearing a back shirt and old your oldest pair of jeans when you do this :)

John
 
Last edited:
Kbvols

Well-known member
Awesome post very detailed and informative. Thank YOU for taking the time and the detail.
 

cookie

Administrator
Staff member
Nice job! Great documentation with pics. Thanks for posting.
This is sure to help some one out in the future.

Peace
Dave
 

newbie

Northern Virginia
Super good post!! Are you using a air bottle jack? Does it work well?
Thanks
Steve

Yes, it is a 20 ton. I have 5 jacks (3 floor and 2 bottle) and this is my favorite. It is fast and effortless, just like an impact wrench compared to a tire iron. Once you use it there is no going back.

John
 

newbie

Northern Virginia
I forgot to list the cost:
  • $6 -16 oz tub bearing grease
  • $20 -Handy Packer
  • $8 -Two 2-packs of seals
  • $10 -4 cans brake cleaner
  • $4 -Four rolls paper towels
  • $12 - Misc

Total cost: $60
 

murry135

New York Chapter Leaders - retired
How can I get your post into one file to save for future reference? Great post will save money in future since I feel I can do this myself also.
 

cookie

Administrator
Staff member
How can I get your post into one file to save for future reference? Great post will save money in future since I feel I can do this myself also.
One thing you could do is subscribe to the thread. It will always be in your subscriptions so you can easily find it again.
You can do this by clicking on 'Thread Tools' at the top of the page.

Peace
Dave
 

murry135

New York Chapter Leaders - retired
Dave,

Thanks for the direction and it appears that I have already subscribed to the thread. When I look in my "Subscriptions" it shows every post by me and every response from all you folks out there. Did I do something wrong or how do I filter out the replies and just keep the original. Minimize juke stored.

Murry
 

cookie

Administrator
Staff member
I don't know how you did that, but you could just empty your folders and start over.

Peace
Dave
 

murry135

New York Chapter Leaders - retired
I think I got it straighten out. Found that Subscribed Threads and View Subscribed Threads are two different things. Cleared up some old subsubcriptions. Thanks again Dave.
 

porthole

Retired
A trick you can add to remove the inner bearing and seal.

Remove drum
Place castle nut back on a few threads
Holding drum at 9 & 3 o'clock, place over the nut and spindle and back several inches and let the drum's weight rest on the spindle.
A quick pull towards yourself with the drum sliding on the spindle will pop out the bearing and seal.
 
Excellent post! Many people don't take the time to check wheel bearings until it's too late. They will pay more attention after a bearing fails and welds itself to the spindle.
 

Ray LeTourneau

Senior Member - Past Moderator
A trick you can add to remove the inner bearing and seal.

Remove drum
Place castle nut back on a few threads
Holding drum at 9 & 3 o'clock, place over the nut and spindle and back several inches and let the drum's weight rest on the spindle.
A quick pull towards yourself with the drum sliding on the spindle will pop out the bearing and seal.
Duane, I've used this trick on smaller spindles and it worked fine but on the large spindle on the BH, the castle nut and washer is smaller than the inside diameter of the inner bearing. I couldn't get it to catch the bearing. Maybe just me but I had to pry out the old seal.
 

MTPockets

Well-known member
Excellent post! Many people don't take the time to check wheel bearings until it's too late. They will pay more attention after a bearing fails and welds itself to the spindle.
I've seen that some uses heat gun to measure temps, or the hand check on the wheel to find a hot bearing. Once you get rising temps (not from sun) you already have bad bearing due to contamination or insufficient lube. Preventative maintenance is best.
 
Top