sirjin
Member
Ok after some searching on the internet, I couldn't find a 'how to' in restringing your rv pleated blind, so here goes a step by step procedure. We've camped so much this past year, that I'm hoping that the reason the string broke is because of the wear and tear of the blind and not just a cheap product that was installed.
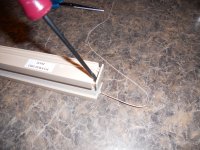
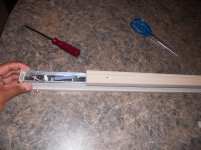
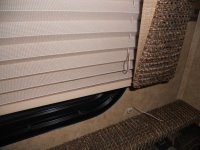
In these two pictures, you will notice the string on the left side has broken off and the bottom right side of the blind the string I had cut off so I can find a string at a local craft or fabric store, which I found the restring needle at a craft store and the string at the fabric store. It's probably a good idea to bring a sample of the broken string with you to the store for comparison.
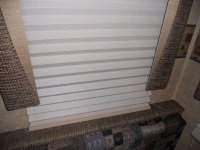
These two pictures shows the metal bracket that holds the top portion of the blind in tact. I used a flathead screwdriver to pop them away from the clip that holds it in place. Make sure you notice how the blind comes off and you may want to reinsert it to make sure you know how to do it after you restring the blind.
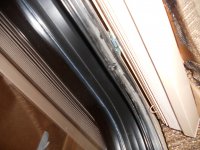
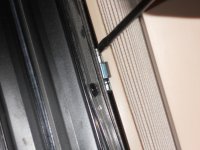
This is what the brackets looked like after I took the blind off.
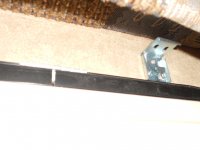
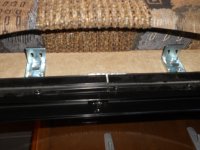
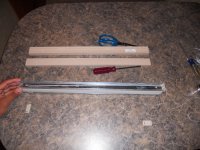
Tools need for this repair is a flathead screwdriver, pair of scissors and a phillips screwdriver for the cord retainer at the bottom.
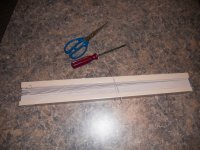
The end caps come off next from the top and bottom portion of the blind. I would take off just either the left or right side, just so you can slide the cover off.
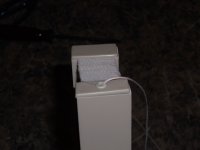
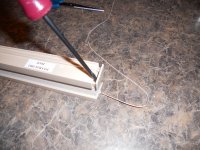
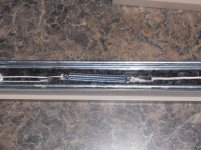
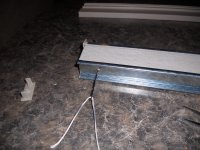
This is what it looks like after I slide the top cover off. Cut the strings off that attaches to both sides of the spring. It may have a clasp at the end, like I had in this second picture, I just used the scissors to cut on both sides of the clasp so I can pull the string off.
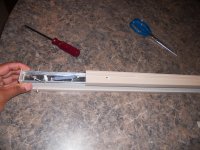
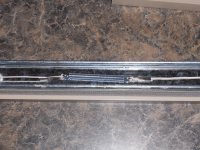
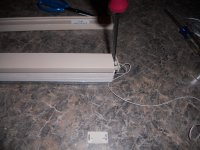
Now taking the bottom portion off, similar to the top portion. Use a screwdriver to pop one end of the bottom cover. Now pull off all the damaged string off.
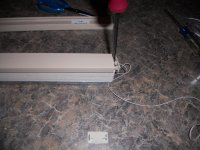
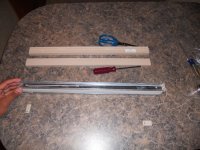
Now I used the needle that I bought at the craft store and restrung the left side of the blind. Then I tied a knot to one end of the spring. I used a fishermans knot. I'm sure a double knot will work as well. Just make sure it's secure. VERY IMPORTANT: Make sure you have more than enough string to restring the blind, I used more than double the height of what the blind needs, because the string will have to travel in the railings on both top and bottom portion of the blind. Don't just use the total height of the blind to restring.
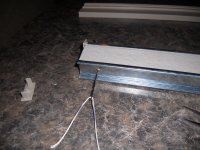
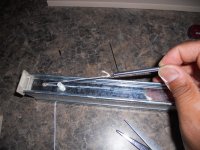
Do the same thing on the other side. And tie a knot on the other end of the spring.
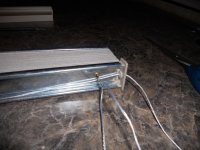
This picture shows where the string goes at the bottom of the rail, they need to cross each other and exit on the oppisite side of where it was restrung, VERY IMPORTANT. In this picture below, the red color is on the left side of the string and runs along the bottom and exits the right side of the blind of the end cap, see picture. The blue color is on the right side of the string and runs along the bottm and exits the left side of the end cap.
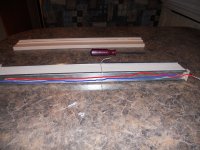
Now after the string has been restrung, now all you have to do is to slide all the covers back on and put the two end caps that you dissasembled back into place. Sorry, I didn't take any more pictures from here except the end product. I just got caught in the moment after I noticed how easy this turned out.
I had to take this cord retainer off to tie the knot and have it hidden behind the retainer and wall. This part was tricky, because I had to make sure the cord was tight enough for the shade, so it doesn't just loosely fall down. You also have to make sure they are evenly tight. You tighten one side too much and the blind will not be level.
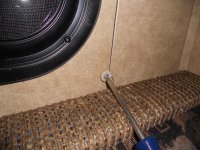
At this point, you should have enough string at the bottom to tie your knots, once you have the string tight and the blind looks and feels well, then just cut off the excess string and your done.
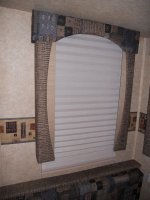
Hope this helps out anyone that would like to do their own restringing of their pleated shade in their RV.
Good luck.
In these two pictures, you will notice the string on the left side has broken off and the bottom right side of the blind the string I had cut off so I can find a string at a local craft or fabric store, which I found the restring needle at a craft store and the string at the fabric store. It's probably a good idea to bring a sample of the broken string with you to the store for comparison.


These two pictures shows the metal bracket that holds the top portion of the blind in tact. I used a flathead screwdriver to pop them away from the clip that holds it in place. Make sure you notice how the blind comes off and you may want to reinsert it to make sure you know how to do it after you restring the blind.


This is what the brackets looked like after I took the blind off.


Tools need for this repair is a flathead screwdriver, pair of scissors and a phillips screwdriver for the cord retainer at the bottom.

The end caps come off next from the top and bottom portion of the blind. I would take off just either the left or right side, just so you can slide the cover off.


This is what it looks like after I slide the top cover off. Cut the strings off that attaches to both sides of the spring. It may have a clasp at the end, like I had in this second picture, I just used the scissors to cut on both sides of the clasp so I can pull the string off.


Now taking the bottom portion off, similar to the top portion. Use a screwdriver to pop one end of the bottom cover. Now pull off all the damaged string off.


Now I used the needle that I bought at the craft store and restrung the left side of the blind. Then I tied a knot to one end of the spring. I used a fishermans knot. I'm sure a double knot will work as well. Just make sure it's secure. VERY IMPORTANT: Make sure you have more than enough string to restring the blind, I used more than double the height of what the blind needs, because the string will have to travel in the railings on both top and bottom portion of the blind. Don't just use the total height of the blind to restring.


Do the same thing on the other side. And tie a knot on the other end of the spring.

This picture shows where the string goes at the bottom of the rail, they need to cross each other and exit on the oppisite side of where it was restrung, VERY IMPORTANT. In this picture below, the red color is on the left side of the string and runs along the bottom and exits the right side of the blind of the end cap, see picture. The blue color is on the right side of the string and runs along the bottm and exits the left side of the end cap.

Now after the string has been restrung, now all you have to do is to slide all the covers back on and put the two end caps that you dissasembled back into place. Sorry, I didn't take any more pictures from here except the end product. I just got caught in the moment after I noticed how easy this turned out.
I had to take this cord retainer off to tie the knot and have it hidden behind the retainer and wall. This part was tricky, because I had to make sure the cord was tight enough for the shade, so it doesn't just loosely fall down. You also have to make sure they are evenly tight. You tighten one side too much and the blind will not be level.

At this point, you should have enough string at the bottom to tie your knots, once you have the string tight and the blind looks and feels well, then just cut off the excess string and your done.

Hope this helps out anyone that would like to do their own restringing of their pleated shade in their RV.
Good luck.
Attachments
Last edited:

