mobilcastle
Well-known member
John,
Nice setup with the tote.
Nice setup with the tote.
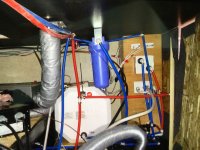
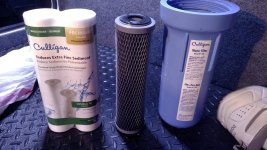
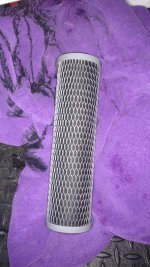
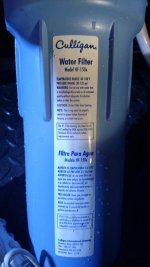
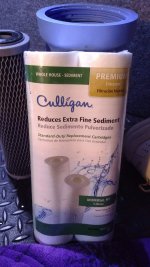
OK, here's my set up. Since the filters are rated to 100 psi, I have the regulator on the output side to protect the coach. I put a pressure gage on the input side of the filter set for information. Between it and the regulator gage, I can see if the filters are getting clogged by noting any pressure difference. The inline water meter follows the regulator and gives me an accurate of water use, which also indicates when the filters need changing. It's also handy when adding water to the black tank to tell how much I've put in. As I mentioned, there are actual backflow preventers on both the city water and the black tank flush (I changed that fitting), so there is no concern of getting tank water back into the system, especially with the anti-siphon valve in place. And all connections have quick-connect fittings. I also don't leave my extra supply hose lying on the ground. I have a hose support that stakes into the ground and I droop the excess around that, near the pedestal. Makes clean up when breaking camp a lot easier than wiping 50 feet of muddy hose.
The photo of the UDC is a bit older and doesn't show the newer fitting on the tank flush, quick-connects or the extra 90° fittings I put on the connections on the UDC wall.
View attachment 29522View attachment 29523View attachment 29524

.jpg")

")
