A running List of Corrections / Mods

2019_V22

Well-known member
Time to start a new thread for reference purposes.
Too many quality control issues to sort out. Fortunately the South Carolina winter months are just the right time for that.

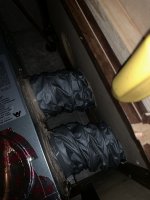
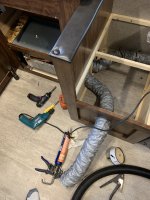
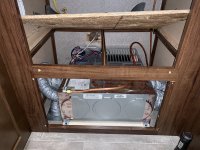
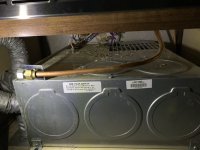
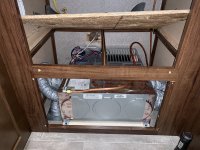
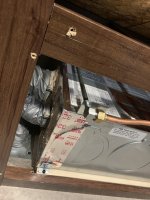
The furnace was tackled today. On a cold day, when the trailer has been sitting long enough to match the exterior temp, the furnace will run, and heat, but was shutting down the burner leaving the fan running, then cycling the burner back on till the desired trailer temp was met, all the while the thermostat was continually calling for heat.
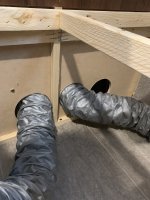
The discovery of an unsealed furnace and duct collars was the issue. This was causing the return air thermostat to trip as the furnace was drawing in unsealed discharge air from the ducts. So the furnace was completely removed, and sealed up. And it made a definite improvement in both air flow, and how it cycles. Some excess duct was removed, and a new hole was cut under the dinette bench to allow both runs to be moved, and better line up with the plenum.
FCLQ8599.JPG


HCWU9370.JPG


EVMY7351.JPG


PLPT4541.JPG


IQWB1171.JPG


WTIK0808.JPG
 

2019_V22

Well-known member
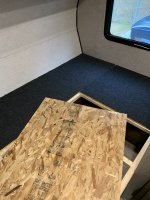
In order to gain decent access to the furnace, the microwave had to be removed, and the chip board floor lifted. This led to the same discovery as others have found. When the stainless trim screws were removed, the microwave dropped about nearly one half inch. This revealed that the microwave was not firmly resting on it's own feet, and only being supported by the stainless install frame. That has led to undue stress on the frame, and causing it to crack and break as others have mentioned. As part of the microwave install, there was a metal base plate with 3 pieces of foam, forming an open square. This was supposed to be mounted directly underneath the microwave, instead it was screwed the the far rear left corner of the interior floor. When properly installed, the metal with foam allows the microwave to either draw, or discharge air from underneath within the foam area and utilize the lower install trim vents for this purpose. This too was corrected by relocating the metal plate under the microwave, and shimming the underside up, on the left and right with 2 full size wooden paint stir sticks, running front to back under where the feet from the microwave would rest. This was all screwed down.

HCWU9370.JPG

- - - Updated - - -

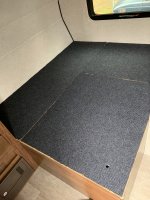
Since the mattress needs to be removed to gain access to the water heater, water pump, and under storage that is not accessible from the rear trap door, a protective layer of thin carpet from Lowe's was added and stapled to all 3 pieces of chip board to prevent chaffing to the mattress. This also insures the mattress does not move.

HRMQ5576.JPG


XVGS1249.JPG
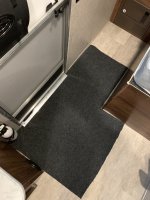
The remaining scrap carpet was cut, and tucked under the aluminum threshold.

BPPM8742.JPG
 
Last edited:

2019_V22

Well-known member
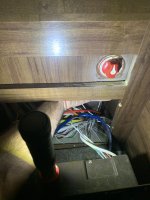
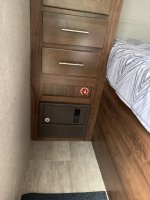
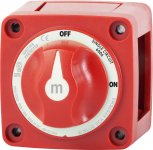
On 2 occasions the house battery was drained down from a full charge, to about 4 volts within a matter of 2.5 days. A battery monitor is in the works. But until then a Blue Sea M series single disconnect has been installed. There is ample space above the onboard fuse box in the filler panel for this and other gauges. The battery voltage was measured at the terminal lugs on the inverter/fuse box unit, when the battery disconnect was turned off, the inverter took over 1.5 minutes to drain down to zero. It's obvious there are charge capacitors in the system, but their discharge rate would suggest that their demand to stay charged when the battery power is on, along with the radio, and gas leak detector standby consumption, is high enough to drain a new fully charged battery in no time. Once the battery monitor is installed, I will have a better understanding where the greatest parasitic draw is.


IMG_1187.JPG


HMFW5024.JPG


6006.jpg
 

2019_V22

Well-known member
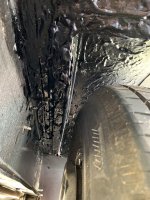
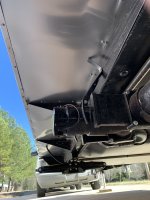
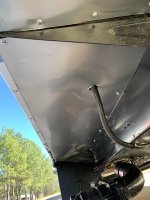
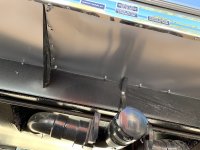
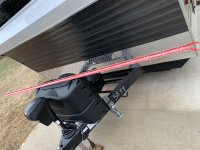
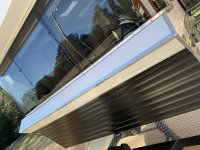
Today the weather broke some and allowed me to tackle the perimeter underside. The factory covers the underside of the wood floor with a woven plastic sheeting, prior to installation over the frame. I have forgotten the name of it. Shortly after my purchase and while doing the at home acquaintance inspection, I discovered that the woven sheeting material had been pulled away from the drivers fender well area during manufacture. This allowed raw floor framing to become visible, obviously not something to be let go, especially around the wheel area regardless of weather. A simple resolution was to coat both galvanized fender liners, and surrounding area with a petroleum based cold tar. This would seal the metal, the exposed wood, and give much longer life to the woven plastic barrier. In addition, the perimeter floor structure beyond the main trailer frame needed extra insurance against wear and tear, and possible rodent intrusion when idle. Aluminum flashing already avail in the 15" width from Lowe's was used. It's a bit rudimentary, but when the only way to install is on your back, you just do your best. Some final sealing around the gas lines is left.
Eventually the plastic corrugated under belly will be improved too.


IMG_1214.JPG


IMG_1215.JPG


IMG_1212.JPG


IMG_1213.JPG
 

2019_V22

Well-known member
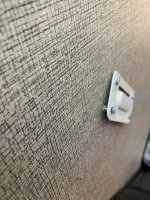
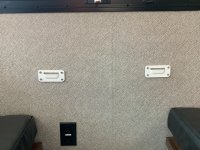
Dinette table mount correction.

Really? Well, it's fixed now.
The center 3 screws are secured into the wall stud.


Dinette_1.JPG


DInette_2.JPG


Dinette_3.JPG


Dinette_4.JPG


Dinette_5.JPG

- - - Updated - - -

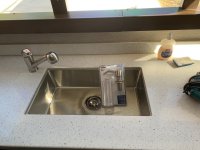
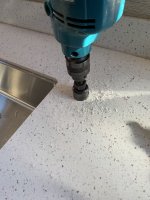
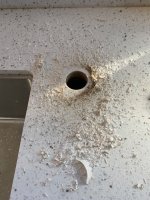
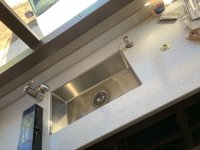
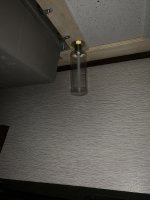
Moving right along, an under-counter soap dispenser is in order.


Kit_Soap_1.JPG


Kit_Soap_1A.JPG


Kit_Soap_2.JPG


Kit_Soap_3.JPG


Kit_Soap_4.JPG

- - - Updated - - -

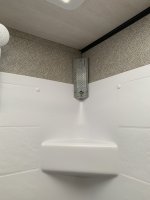
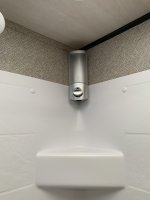
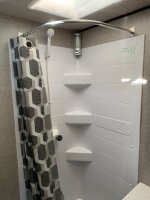
I can actually use the shower if the need arises, due to my being slender, so a dispenser was added there too.


Shower_Soap1.JPG


Shower_Soap2.JPG


Shower_Soap3.JPG
 

2019_V22

Well-known member
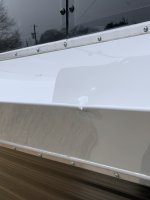
I managed to inflict injury on the very first day, finally got this corrected, and I like the fix better than the original bare corner.

Dent (1).JPG


Dent (2).JPG


Dent (3).JPG


Dent (4).JPG
 

2019_V22

Well-known member
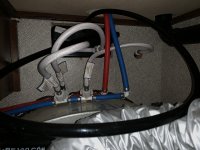
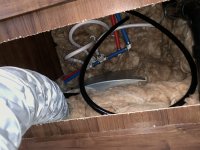
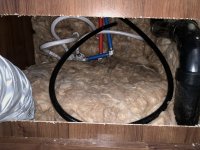
The hidden area of the vanity where the heat duct, and water lines are, needed some love. The water lines were actually resting on the topside of the metal fender well. I un-screwed the fittings at the faucet, cut the extra PEX tube off, and re inserted and clamped the fittings. This allows for insulation to be added under the water lines, and on top of the metal fender well. I also cut a 1/4" x 1/4" hole in the heat duct to allow for a small amount of heat to fill the area. This will be added insurance when I use the trailer during cold temps.

Vanity_Insulation (1).JPG


Vanity_Insulation (2).JPG


Vanity_Insulation (3).JPG
 

2019_V22

Well-known member
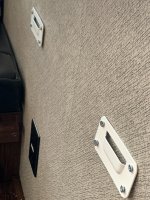
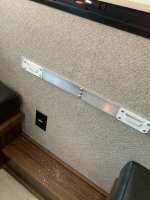
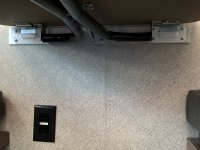
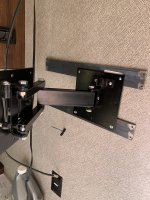
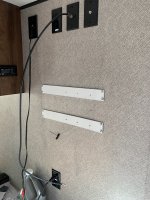
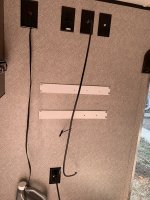
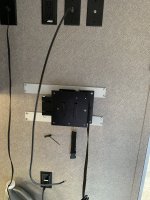
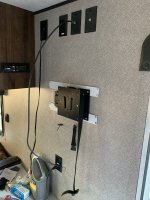
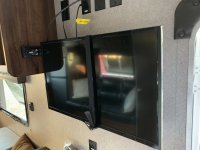
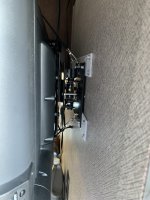
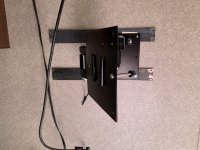
The TV mount was next on the list. It was leaning away from the wall, and taking the wall with it, at the top of the mount plate. I removed everything, and realized that there was a backing board in the wall, just not where the TV was. Rather than move the TV over the backer board, and have it too low, and in the doorway, I simply added 2 steel bars across the 16" on center wall studs. Once everything was drilled, and pre-fit, the bars were painted.

TV_Mount (1).JPG


TV_Mount (2).JPG


TV_Mount (3).JPG


TV_Mount (4).JPG


TV_Mount (5).JPG


TV_Mount (6).JPG


TV_Mount (7).JPG

TV_Mount (8).JPG
 

jbeletti

Well-known member
Excellent work on the TV mount mod! Thanks for sharing with pics :)

Also, how did you confirm there was structure in the wall and what was the structure (plywood or sheet metal)?
 

2019_V22

Well-known member
The backing material appears to be of wood. Simply pressing and probing on the wall board by hand, revealed the wall studs at 16" on center, and the backing board resembling the same footprint as the TV mount plate. It just happened to be lower and to the right of where the TV was mounted. If moved to that spot, it would've been too low, and in the opening of the doorway. The TV is extremely secure at this point.
 

2019_V22

Well-known member
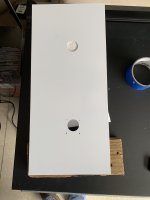
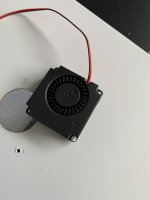
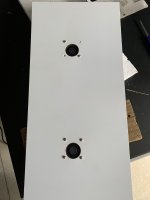
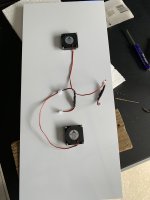
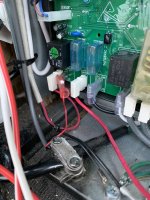
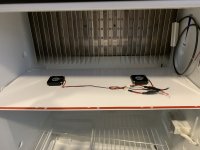
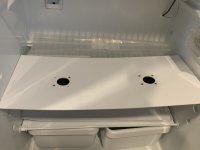
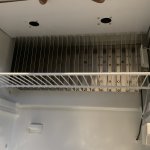
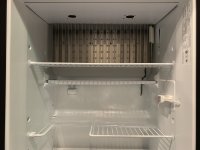
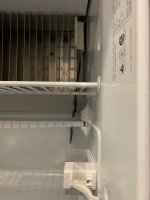
Today I was able to implement my fridge fan idea. Although a completed project for now, it's completely reversible, and improvable if need be. A possible improvement would be a larger 3rd centrifugal motor in the middle, with a multi position switch to select the 2 small fans, or all 3 at once. It was a very simple mod, and merely took patience and thought. At 28 years in the HVAC, and appliance service industry, it made complete sense to add this. I simply ordered another white plastic crisper cover, it was already the size needed, and no modification was made to it"s dimensions. The micro fans came from Amazon. So simply, holes were drilled, and the fans were added to the plastic sheet, a strip of 3M automotive molding tape affixed to the front edge. This will allow the plastic to be stuck to the front ceiling fridge liner, leaving the rear to simply rest on the top of the cooling fins. White latex caulk will fill the small gap on the left and right of the plastic panel to the liner. The fans pull air in on only one face, and discharge on the side. There is about 20mm of depth in that part of the ceiling, this is probably to accommodate taller items on the top shelf, I felt that forced air circulation was more important than a few extra mm of top space. The wiring was done by tapping off of J2 on the main board. This terminal becomes active with 12v shortly after the fridge is powered on, it's the circuit that feeds voltage to the light switch, and mullion heater, labeled Heater/Light. These fans only draw 0.1 of an amp. Each fan was fused by the maker. The wire set was brought in through the same opening as the factory fridge thermistor, then hot glued along it's way to the top. I have seen many ready made fan systems, as well as many self made ideas. I personally feel I have made the best set up for me, It's most important that airflow be present across all fins at once, not just some, or a few. This achieves just that by sending a curtain of air across the ceiling which turns down and over all cooling fins.

Fridge_Fan (1).JPG


Fridge_Fan (2).JPG


Fridge_Fan (3).JPG


Fridge_Fan (4).JPG


Fridge_Fan (5).JPG


Fridge_Fan (6).JPG


Fridge_Fan (7).JPG


Fridge_Fan (8).JPG


Fridge_Fan (9).JPG


Fridge_Fan (10).JPG
 

jbeletti

Well-known member
The backing material appears to be of wood. Simply pressing and probing on the wall board by hand, revealed the wall studs at 16" on center, and the backing board resembling the same footprint as the TV mount plate. It just happened to be lower and to the right of where the TV was mounted. If moved to that spot, it would've been too low, and in the opening of the doorway. The TV is extremely secure at this point.

Cool - I figured you did some method of probing. Sorry to hear about the dorky mfr placement of the backer.
 

2019_V22

Well-known member
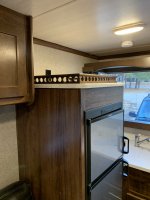
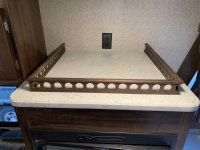
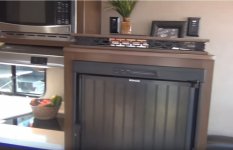
Once I had seen the prototype V21, and the rail trim atop the fridge, I knew I wanted something similar. A friend of mine had a teak trim from his sailboat that was salvaged after it sank in a storm. We cut the teak at 24" wide, by 28" deep, this gave a 2.5" inset atop the fridge board. Once the teak was cut, lightly sanded, and stained with a plain natural stain the corners were nailed and glued together, then the unit was secured to the top board.

Fridge_Teak (3).JPG


Fridge_Teak (5).JPG


Prototype
prototype.JPG
 

2019_V22

Well-known member
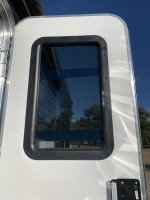
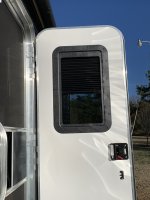
Sometimes it's just the little things.
No explanation needed here.
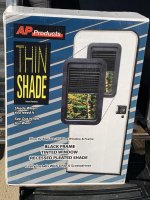
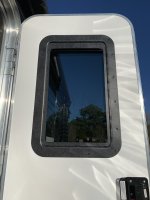
1 person, directions read, 15 minutes, Done..!!


Door_Window (1).JPG
Original window, glass and frame


Door_Window (2).JPG


Door_Window (3).JPG


Door_Window (4).JPG
 

2019_V22

Well-known member
Last edited:

Jesstruckn/Jesstalkn

Well-known member
PPL is running a sale

https://www.pplmotorhomes.com/parts...MInNaNjai84AIVkYbACh3JxwEZEAYYASABEgJ_RfD_BwE


I have found this distributor to be overall cheaper on a lot of items items. It's where I made my purchase.

https://www.rvpartscountry.com/search.asp?keyword=slim+shade&www=


Here is the manufacture catalog, page 13

http://approducts.net/PDFs/catalogs/AP_ServiceCat_2017_sm.pdf


https://www.approducts.net/


Very nice Mods and repairs.
The issue I have with that door shade is you can't get to it through the screen door. You have to open the doors and stand on the steps to operate it correct ?
 

avvidclif

Well-known member
I want to thank you for the original post on the door shade. Not only did I find something I have been wanting but by looking at their (AP Products) catalog I found a world of oddball RV parts that a do-it-yourself-er like myself felt like I found nirvana. The website isn't the best but if you have patience you can probably find about anything.

THANKS
 
Top