cokecrazed007
Member
Has HL changed there set up for the 2011 year production?
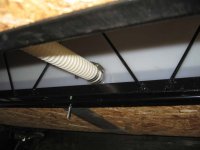
Yes, the mfg. of the holding tanks that Heartland is now using has a different tank design for the new model year. Thanks, Mike
")
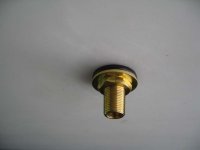

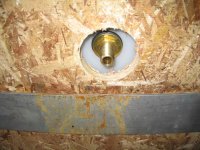

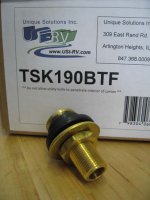
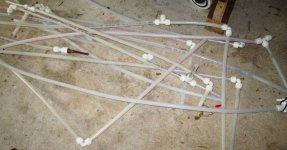
 ), I managed to acquire a few different PEX fittings and some PEX tubing that should help along the way.
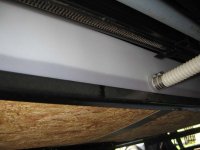
The way you did your mod defiantly looks like a much simpler way of handling the issue. I really thought long and hard about using those fittings in the tank instead of tracking down a plastic welder to install new fittings. Now that I've had a chance to use mine, I believe that "Y"ing the 2 tanks together and having that feed the pump maybe the better way of doing it. The only issue is if by some chance the tanks are not level, what will happen if one tank is out of water first? In the end I don't think even that is an issue because if it gets that low of water the difference isn't going to make a big deal. One thing I did notice though with mine, is when the water is below the factory cross over tube, it can take 5-10 minutes if not longer for the 2 tanks to equalize in water level using the smaller tube ID. Again not big deal until your out of water<G>.
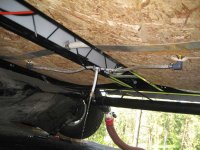
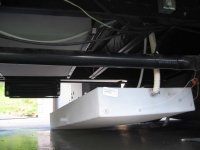
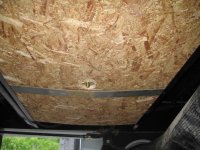
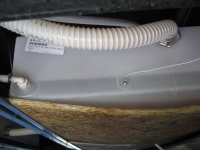
The only thing I can suggest is keeping an eye on those tank support boards so you don't end up with broken ones like I did.
Great job though. It should be good to the last drop now.
Doug